
You would think that uploading an HTML file would be straightforward. Something that you can do in 2 minutes. It used to be.
Now, with so many website builders, each having their own way of doing things, (plus sometimes using proprietary code), things are a bit trickier.
What used to take a couple of minutes can have you scratching your head for days on end, searching the web for solutions, watching YouTube videos, trying all of the ways, and still be left feeling like you are hitting a wall.
Here is the real problem.
Not all website builders allow HTML file uploads. If they do, it may be at the page level.
Can you imagine going page to page, and uploading an HTML verification file to every page that you publish? Crazy, right?
You don’t have to. Every platform that requires you to verify that you are the website owner, gives you a few options.
In the instances when you cannot upload an HTML verification, there are other ways that get the job done.
How to upload HTML verification file
The HTML verification file can be uploaded with the File Manager in cPanel. Another method is to transfer the HTML verification file using FTP. In instances when platforms have disabled HTML file uploads, you will need an alternative option, the simplest of which is the HTML tag.
1. Upload HTML verification in cPanel
Step 1: Download the HTML verification file
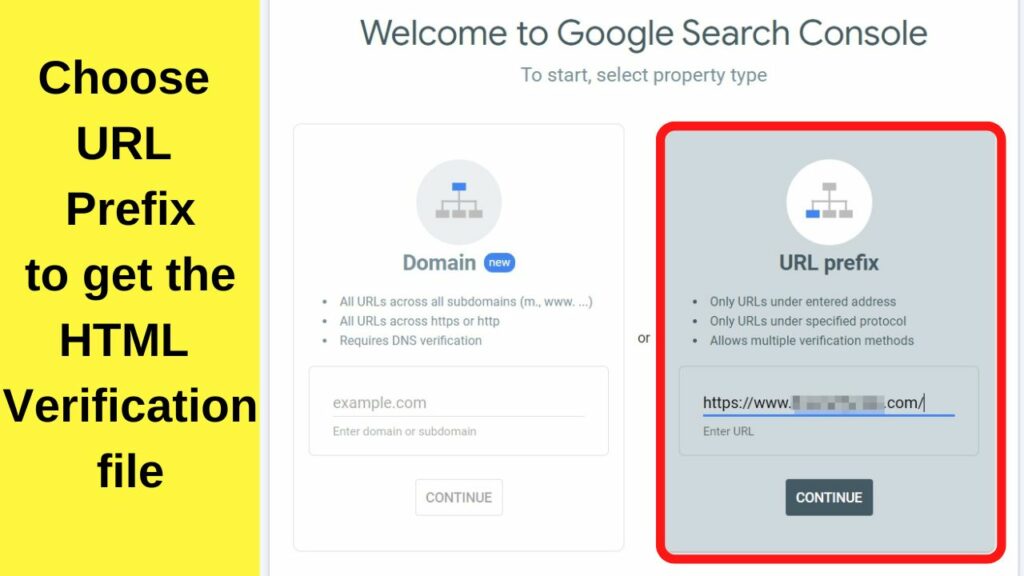
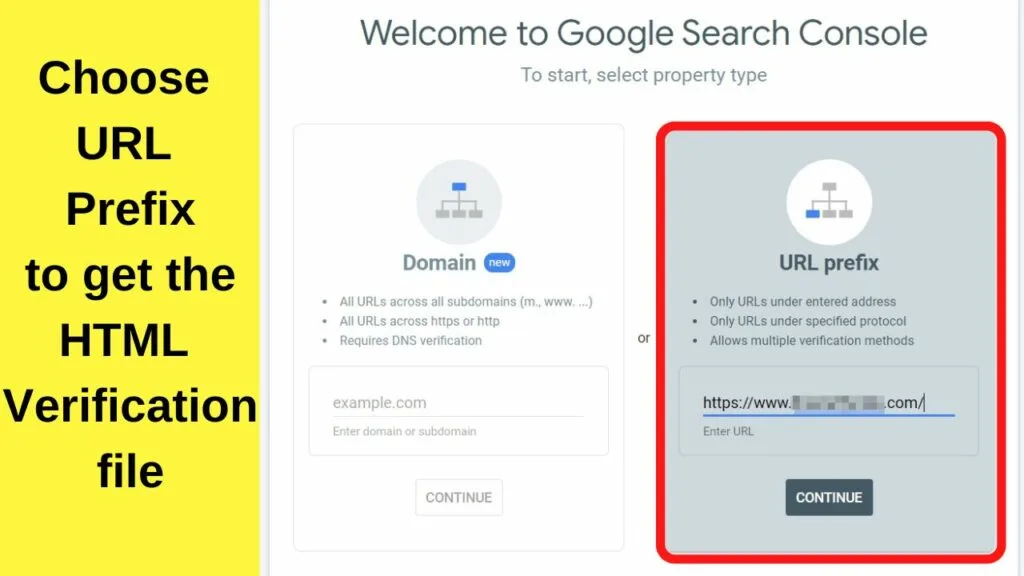
The very first thing you need to do is download your HTML verification file from whichever platform requires you to verify ownership.
HTML verification files are mostly required by Google. The other is Meta which is for if you plan to do any type of advertising on Facebook or Instagram.
Both platforms are exactly the same.
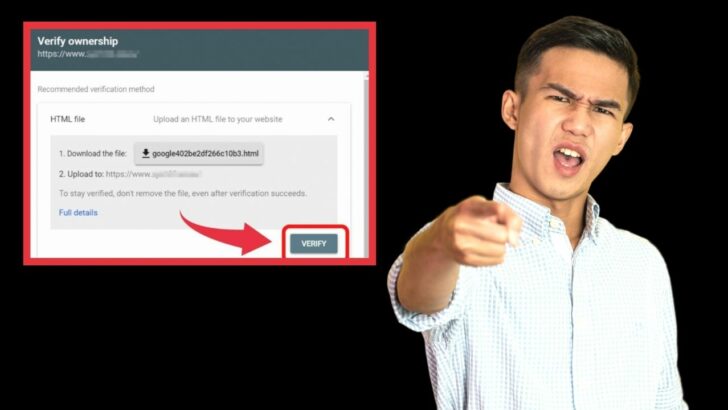
When you reach the stage for verification, select the “HTML Verification” option and download the file.
Step 2: Log in to cPanel and Open the File Manager
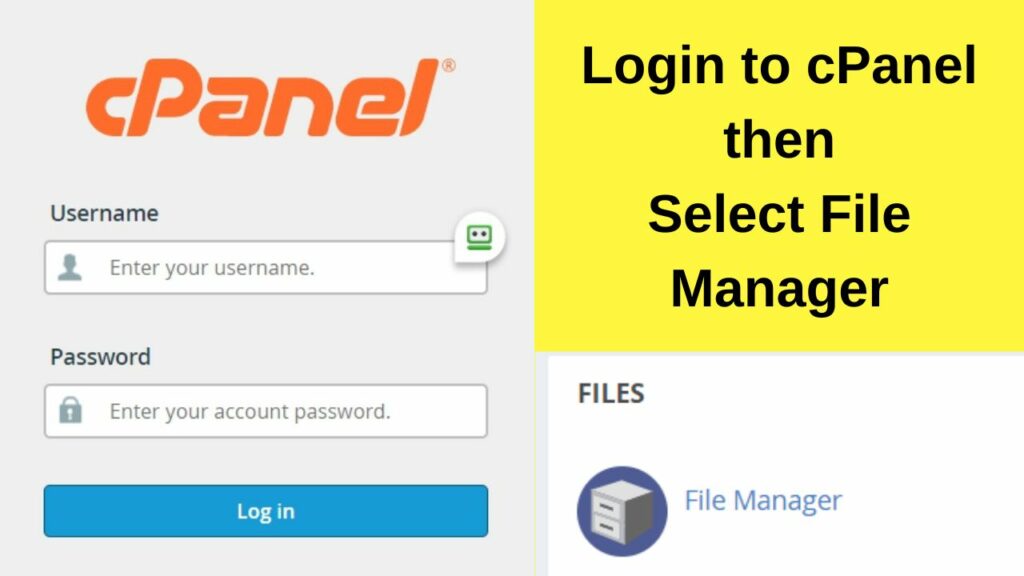
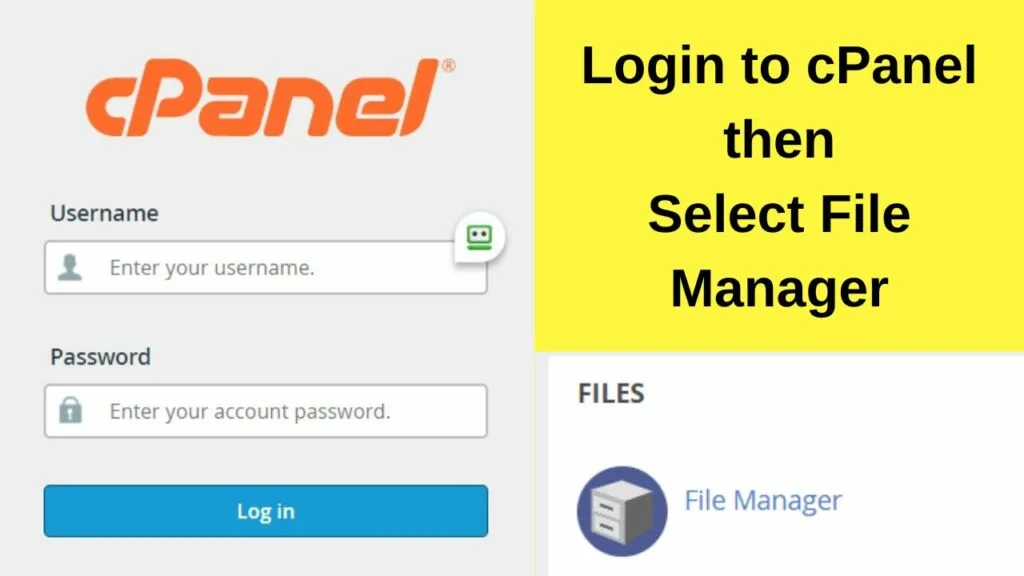
If you have access to cPanel, log in there. The quickest way is by appending your website URL with port number :2083 added to the end. – i.e. yoursite.com:2083
Once logged in, the File Manager is where you can access and edit all of your website files.
Where your HTML verification gets placed depends on how many websites you have hosted in your account.
- If you have a single website, the HTML verification file goes into the public_html folder. or for multiple domains, select your website from the list of websites that are being hosted.
Step 3: Click on the “Upload” button
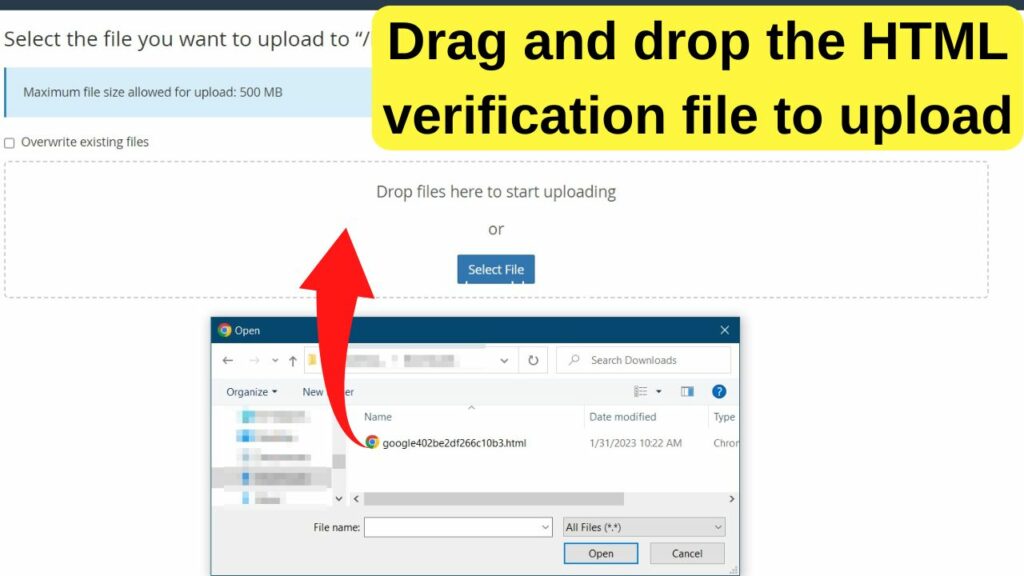

The upload button is located on the top navigation bar in cPanel. Click on that, then select the HTML verification file that you downloaded previously.
Once done, the file will be in the root directory and ready for you to verify.
Step 4: Verify

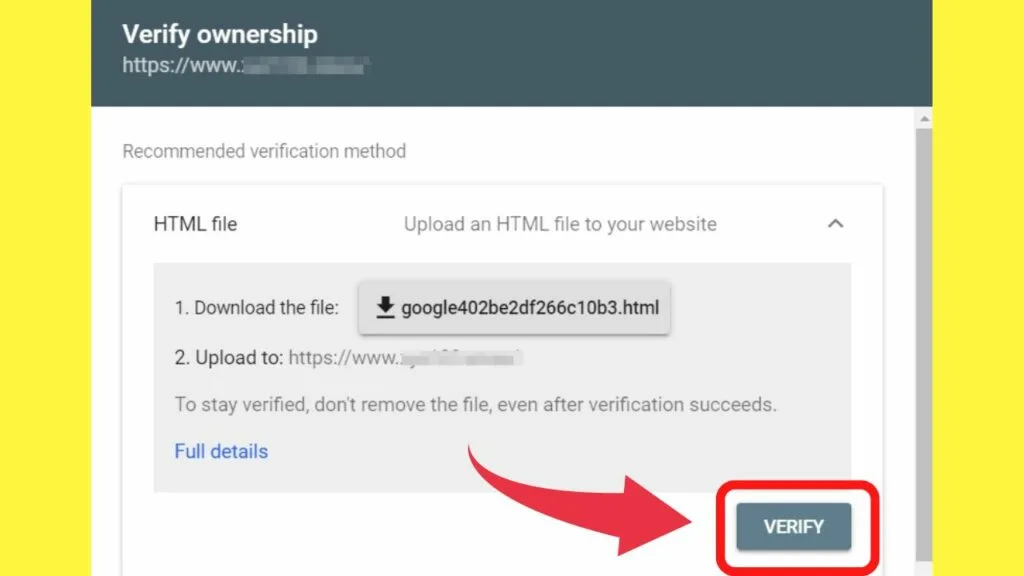
Once it is uploaded, go back to your Google Search Console dashboard and click the “Verify” button.
If all the above worked out for you, you will now see in your dashboard that the “verification methods used” shows “HTML file… successfully verified”.
2. Transfer the HTML verification file with FTP
Step 1: Download an FTP client if you do not have one installed on your system

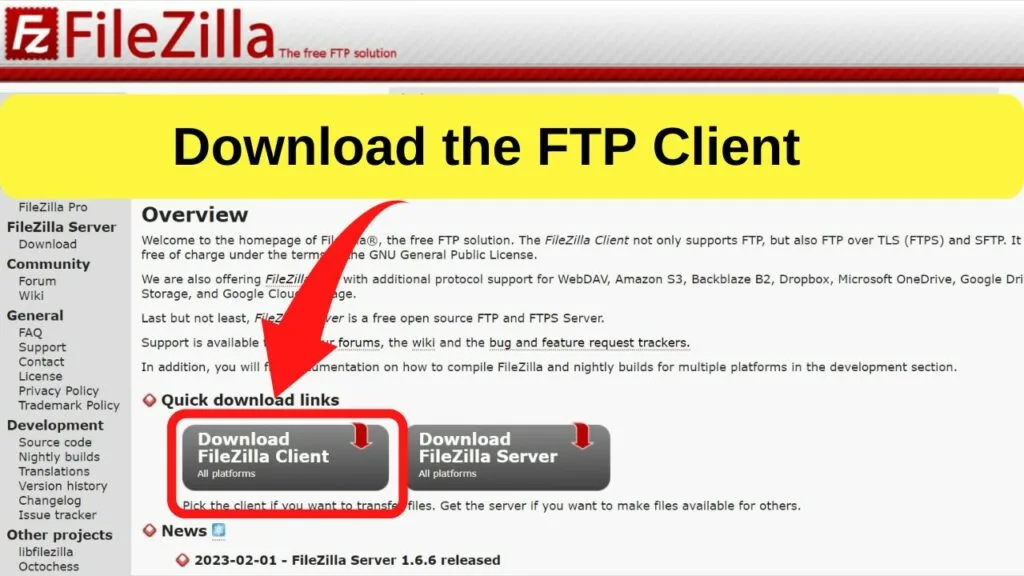
FTP stands for file transfer protocol. You need an FTP client to be able to transfer files. A popular free FTP client is Filezilla. It can be downloaded at FileZilla-project.org.
The FTP login credentials are the same as your cPanel or hosting login details. Use those to establish an FTP connection with your hosting account.
Step 2: Go to the root folder of the domain you need to verify
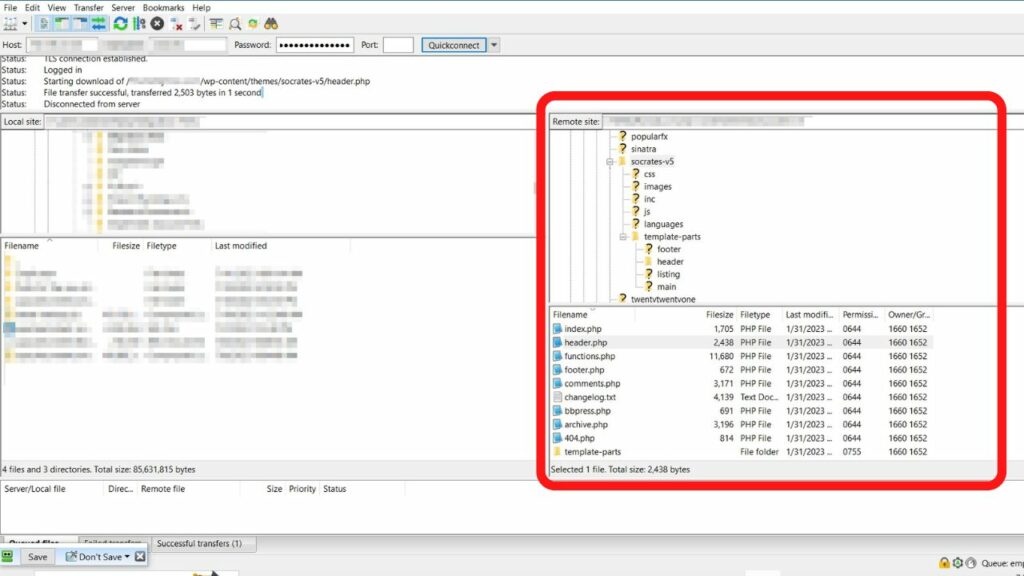
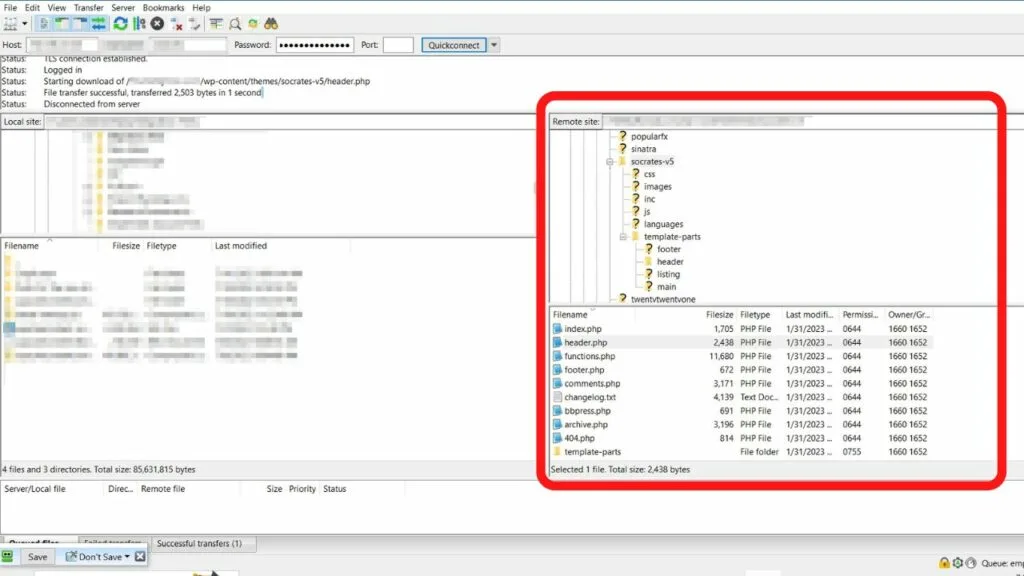
Once connected, your local system files show on the left side, the right side is the remote connection to your hosting account.
- If you only have one site, select the public_html folder on the right (remote site).
- If you have multiple sites, make sure that you have selected the correct domain.
Step 3: Transfer the HTML verification file to the remote site

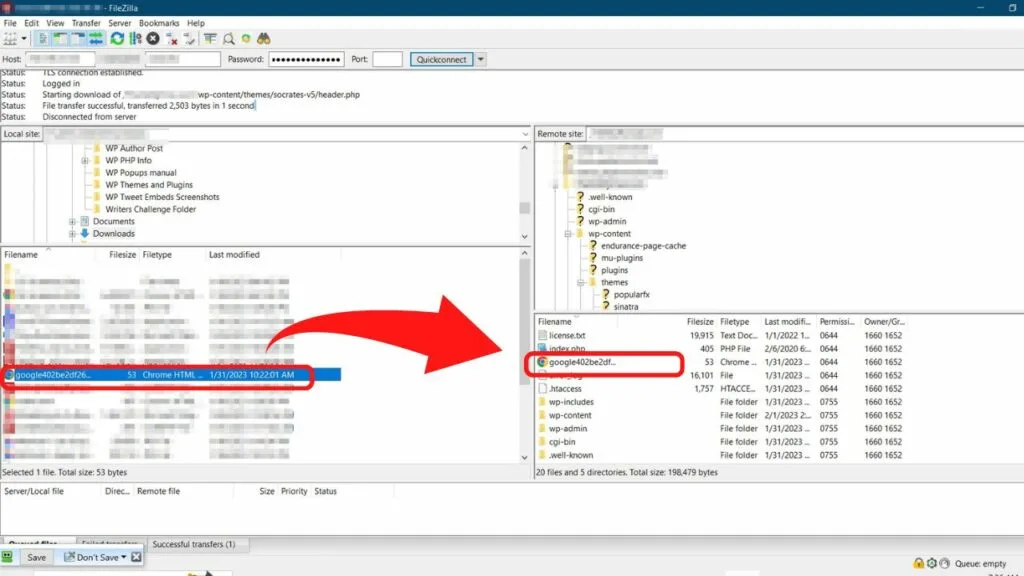
The HTML verification file will be shown on the left. If you saved it to your downloads folder, go to your downloads folder in Filezilla, or whichever other FTP client you are using.
Once you have the HTML verification file, click to select it and drag it to the root folder of your domain.
Do take care not to drop the file into any subfolders. It has to be in the root directory of your website for the verification file to work.
How to Verify with HTML Meta Tag (instead)
There can be times when you just cannot upload an HTML verification file to a platform.
Shopify (for example) uses proprietary code so all of the file extensions need to be [.]liquid. You can edit the HTML, but you cannot upload HTML files.
The same thing happens with the SquareSpace website builder and Wix.
You can upload HTML files but not to the root directory. Uploading an HTML verification file at the page level will not work.
When any platform has disabled the ability to upload HTML files to your root directory, you need to use an alternative verification method. Every platform requiring verification will give you a few options.
- Verify with DNS (this takes the longest because DNS propagation does not happen instantly)
- Verify with the HTML file upload
- Put an HTML tag in the head of your document.
Shopify is the trickiest so if you are attempting to verify a custom domain on Shopify, this is how it gets done.
Step 1: Grab the HTML Meta Tag from the platform requesting verification
When you go to Google Search Console (or Meta Business Manager), choose the option for HTML tag.
After clicking on the HTML tag option, a code will appear with the tag that has to be applied to your home page.
It will look like this:
|
1 |
<meta name="google-site-verification" content="oYB91hy8Jg9-He08f1pfZCFr_n5r380GxJJ5cnKF1K0" /> |
Step 2: Locate your header file
The header file can be tricky to find. In most cases, it is header.php or something similar.
On Shopify, to edit the header, you need to access the theme[.]liquid file. That is the Shopify theme file to control the header and the footer.
The HTML tag you are looking for in the header file is this
|
1 |
<head> |
Step 3: Paste your HTML tag into the “head” section
The HTML tag gets placed anywhere between the opening head tag and the closing head tag.
What you will see will be similar to the code snippet below.
|
1 2 3 4 5 6 7 8 9 10 |
<head> <!-- Meta --> <meta charset="<?php bloginfo( 'charset' ); ?>"> <meta name="viewport" content="width=device-width, initial-scale=1"> <!-- Link --> <link rel="profile" href="http://gmpg.org/xfn/11"> <link rel="pingback" href="<?php bloginfo( 'pingback_url' ); ?>"> <!-- WP Head --> <?php wp_head(); ?> </head> |
In HTML files,
|
1 2 3 |
<head> and </head> |
are the codes for the header.
Anywhere between the head tags is where to paste in your HTML tag for verification.
What you should have once you have pasted in your HTML tag will be something like this:
|
1 2 3 4 5 6 7 8 9 10 11 |
<head> <!-- Meta --> <meta name="google-site-verification" content="oYB91hy8Jg9-He08f1pfZCFr_n5r380GxJJ5cnKF1K0" /> <meta charset="<?php bloginfo( 'charset' ); ?>"> <meta name="viewport" content="width=device-width, initial-scale=1"> <!-- Link --> <link rel="profile" href="http://gmpg.org/xfn/11"> <link rel="pingback" href="<?php bloginfo( 'pingback_url' ); ?>"> <!-- WP Head --> <?php wp_head(); ?> </head> |
Notice the “google-site-verification” code there.
With that pasted into the head section, the HTML tag can now verify your ownership of the website.
Step 4: Verify
Go back to the Google Search Console and click on “Verify”.
Once done, it will show that the site is “successfully verified”.
The HTML tag is the fastest way to verify ownership on any platform that does not allow HTML file uploads.