
Creating a button in HTML that acts like a link is a simple and effective way to make your website more interactive and user-friendly.
Whether you’re building a landing page or a blog, adding buttons that take users to other pages or sections of your site can make navigation easier and more intuitive.
In this article, we’ll show you how to create HTML buttons that act like links, including the advantages and disadvantages to each method.
How To Create an HTML Button That Acts Like a Link
There are three ways which you can use to create a HTML button that acts like a link. The first way is to create a HTML anchor link <a> which is styled like a button. The second way is to use the HTML <button> tag with the javascript window.location method. And lastly, you can create a HTML button inside a form.
Each method listed above works in a different way. However if the statement “button that acts like link” means that when you right-click you should get normal link features such as “open in new tab/window” or “copy link address” only the first method will work for you.
If you are working with texts and paragraphs, you can check out our comprehensive post on How to Make Text Clickable in HTML.
Method 1: Create a HTML Anchor Link <a> Which is Styled Like a Button
The first method of creating an HTML button that acts like a link involves using the <a> (anchor) tag and styling it to look like a button.
The <a> tag is used to create a hyperlink to another webpage or to a specific location on the same page. The “href” attribute is used to specify the destination of the link.
Here’s an example of using the <a> tag to create a link to “http://www.example.com”:
|
1 2 3 4 5 6 7 8 9 |
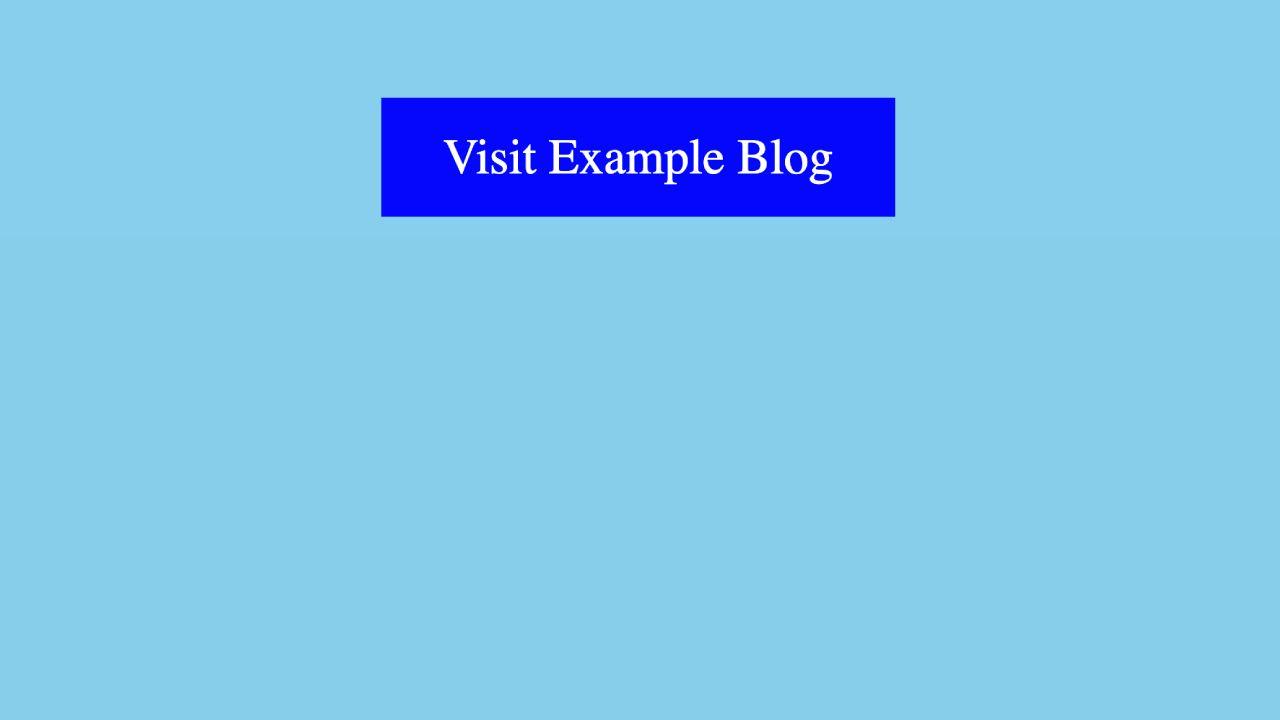
<!DOCTYPE html> <html lang="en"> <head> <link rel="stylesheet" href="index.css" /> </head> <body bgcolor="skyblue"> <a href="https://www.example.com">Visit Example Blog</a> </body> </html> |
In this example, the text “Visit Example.com” will be displayed as a hyperlink on the webpage, and when clicked, it will redirect the user to the specified URL “http://www.example.com”
To make the link look like a button, you can use CSS to style the <a> tag. You can give it a background color, change the text color, and remove the underline, for example:
|
1 2 3 4 5 6 |
a { padding: 10px 20px; background-color: blue; color: white; text-decoration: none; /* remove underline */ } |
You can also use classname to style it as shown in the HTML code snippet below.
|
1 2 3 4 5 6 7 8 9 10 11 12 13 14 15 |
<html> <head> <style> button-Link { padding: 10px 20px; background-color: blue; color: white; text-decoration: none; } </style> </head> <body> <a href="http://www.example.com" class="button-Link">Visit Example Blog</a> </body> </html> |
This will create a blue button with white text that says “Button Link” and when clicked it will redirect the user to “http://www.example.com“.
You can also add different styles, like :hover, :active and :focus to the classname, to give a different look and feel when the mouse is hovering, active or focus is on that button.
Note:
Advantages of Styling the HTML <a> Tag as a Button
- The <a> tag will always be treated as a hyperlink by browsers and search engines, regardless of its styling. It is widely supported across different web browsers and devices
- It is easy to style the <a> tag to make it look like a button using CSS.
Disadvantages of Styling the HTML <a> Tag as a Button
- Using an <a> tag to create a button that acts like a link is not semantically correct. The <a> tag is intended to be used for creating links, and using it for a button could cause confusion for users and search engines.
- If you use JavaScript to attach an onclick event to the <a> tag, it may cause issues with the browser’s default behavior for links.
Method 2: Use the HTML <button> Tag With the Javascript window.location Method
The window.location method in JavaScript can be used to redirect the user to a different web page.
Here is an example of using the <button> tag with the window.location method to redirect the user to a different web page when the button is clicked:
|
1 |
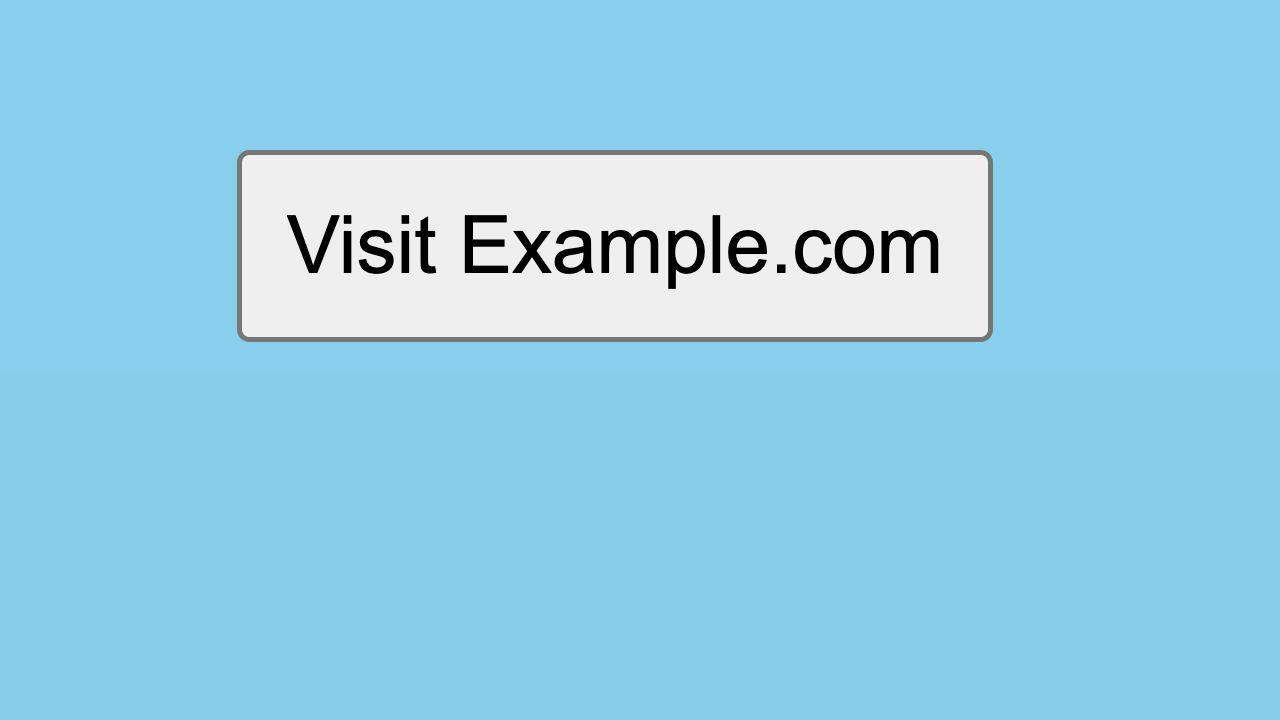
<button onclick="window.location.href='https://www.example.com'">Visit Example.com</button> |
In this example, the button will have the text “Visit Example.com” displayed on it. When the button is clicked, the user will be redirected to the URL “https://www.example.com”.
Another example is to create a button which redirect to a specific location when clicked by using window.location.replace() instead of window.location.href :
|
1 |
<button onclick="window.location.replace('https://www.example.com')">Visit Example.com</button> |
It is important to note that window.location.replace() method replaces the current page in history,so user will not be able to use the back button to navigate to the previous page
You can also use a Javascript function to make it more readable and easy to maintain.
|
1 2 3 4 5 6 7 |
<button onclick="redirectToExample()">Visit Example.com</button> <script> function redirectToExample() { window.location.href = 'https://www.example.com'; } </script> |
In this example, the button will have the text “Visit Example.com” displayed on it. When the button is clicked, the redirectToExample() function will be called and the user will be redirected to the URL “https://www.example.com”.
You can read more about Javascript functions in our post The Best Ways to Call a JavaScript Function in HTML.
Advantages of Using the HTML <button> Tag With the Javascript window.location Method
- The <button> tag allows for more styling options than a standard link, making it easier to create buttons that match the design of a website.
- Using JavaScript to change the window location allows for the button to be used as a link without requiring a page refresh.
Disadvantages of Using the HTML <button> Tag With the Javascript window.location Method
- Users who have JavaScript disabled or are using a browser that doesn’t support JavaScript will not be able to use the button as a link.
- Using JavaScript for this purpose can make the website less accessible for users with assistive technologies.
- Search engine crawlers may not be able to follow the link, which can negatively impact SEO.
Method 3: Creating a HTML button inside a form
Here is an example of creating a button inside a form that acts as a link:
|
1 2 3 |
<form> <button type="button" onclick="window.location.href='https://www.example.com'">Go to Example.com</button> </form> |
In this example, the <button> element is placed inside a <form> element. The type attribute is set to “button” to specify that this is a clickable button. The onclick attribute is used to specify a JavaScript function that will be executed when the button is clicked.
In this case, the function window.location.href=’https://www.example.com’ is used to redirect the user to the specified URL.
Note: The type=”button” is used to specify the type of button. The default value for this attribute is “submit”, which means that the button will submit the form when it is clicked. By including type=”button”, you are explicitly specifying that the button should not submit the form and instead it should perform some other action, such as redirecting the user to a different URL.

Advantages of Creating a HTML Button Inside a Form
- Since you are creating a real HTML button, this code is semantically correct.
- You don’t require Javascript or any complex CSS styling.
Disadvantages of Creating a HTML Button Inside a Form
- It adds an extra <form> element in your HTML code.
- When dealing with responsive designs, this method might not be ideal since you are trying to position an element inside another element.
Frequently Asked Questions about How to Create an HTML button that acts like a link?
Can I create a HTML <button> element and Wrap it Using the anchor <a> Tags?
Yes, you can create a HTML <button> element and wrap it using the anchor <a> tags, but it is not semantically correct. The <button> element is used to create a clickable button on the web page, while the <a> element is used to create a link. Wrapping a button in an anchor tag could create confusion for screen readers and other assistive technologies, and may also lead to unexpected behavior.