A scrollable div is a container that can display more content than its actual size.
It allows users to scroll through the content that is not visible on the screen.
This is particularly useful when dealing with large amounts of data or displaying images, videos, or other types of content.
This post will give you a detailed guide of all the methods you can use to make your div scrollable.
How to Make a Div Scrollable
You can make a div scrollable using the CSS overflow property. You can also use the Bootstrap CSS framework using the overflow-auto class name. Javascript or jQuery will also come in handy if you want to add more functionality to the scroll bars.
Understanding Scrollable Divs in Web Development
You can make a div scroll either along the Y-axis or the X-axis.
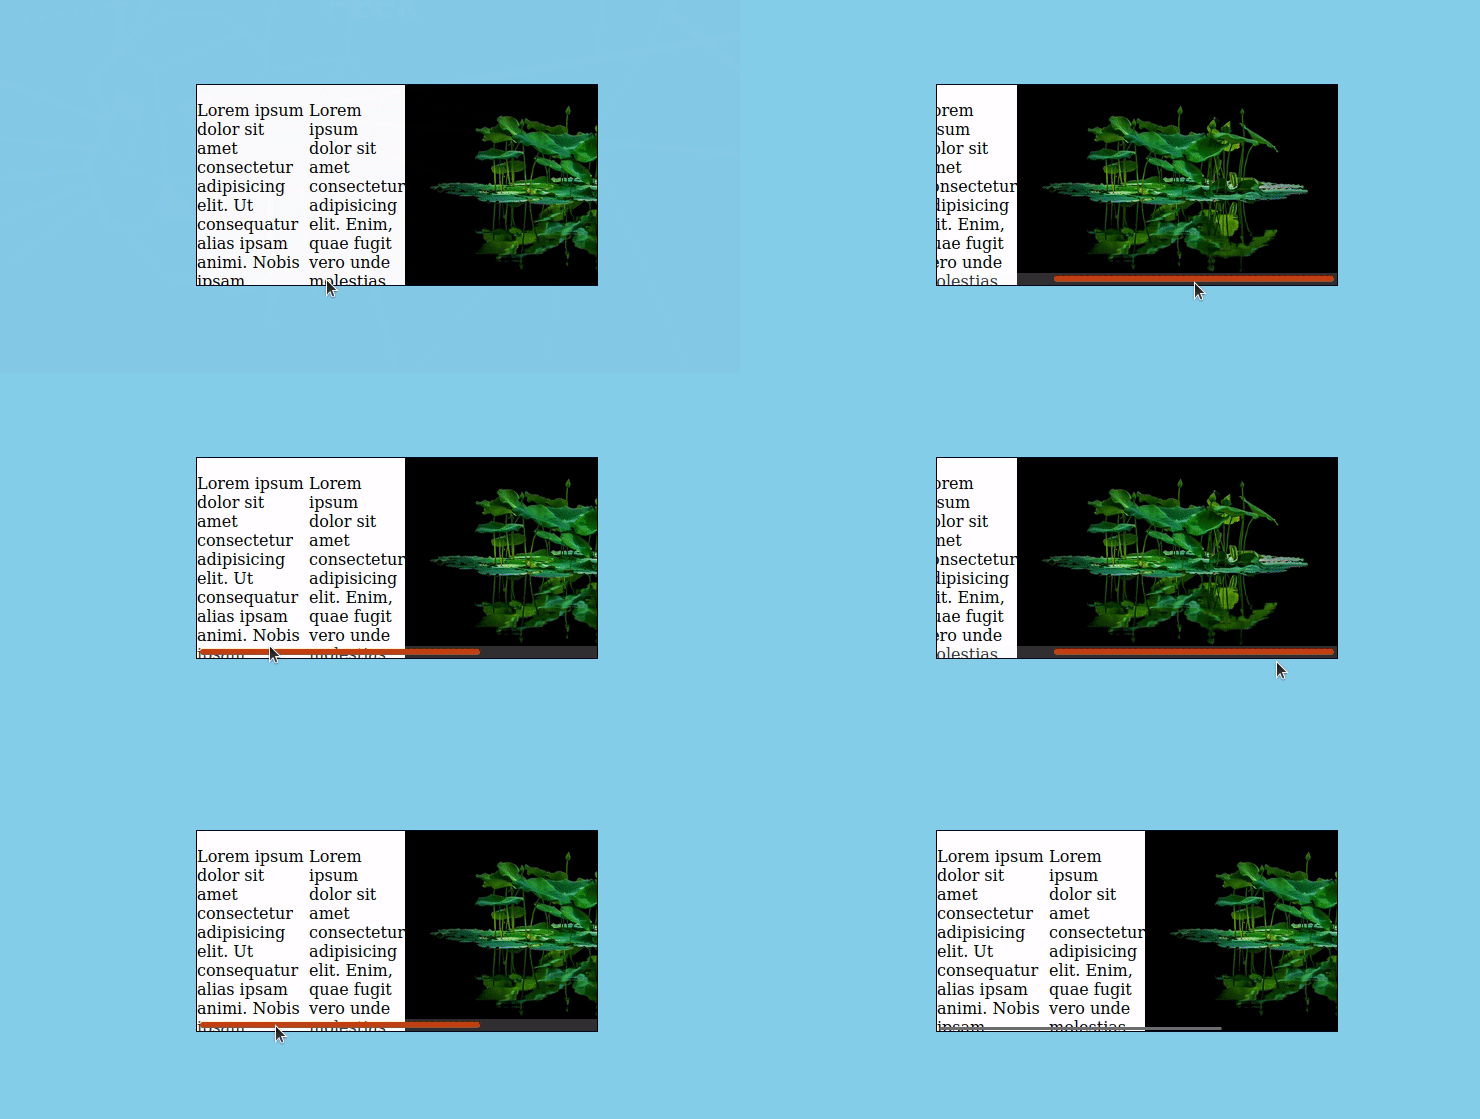
If you make a div scrollable along the X-axis, you will have a scroll bar that you can drag to the right or left to view the hidden content. See the gif below.
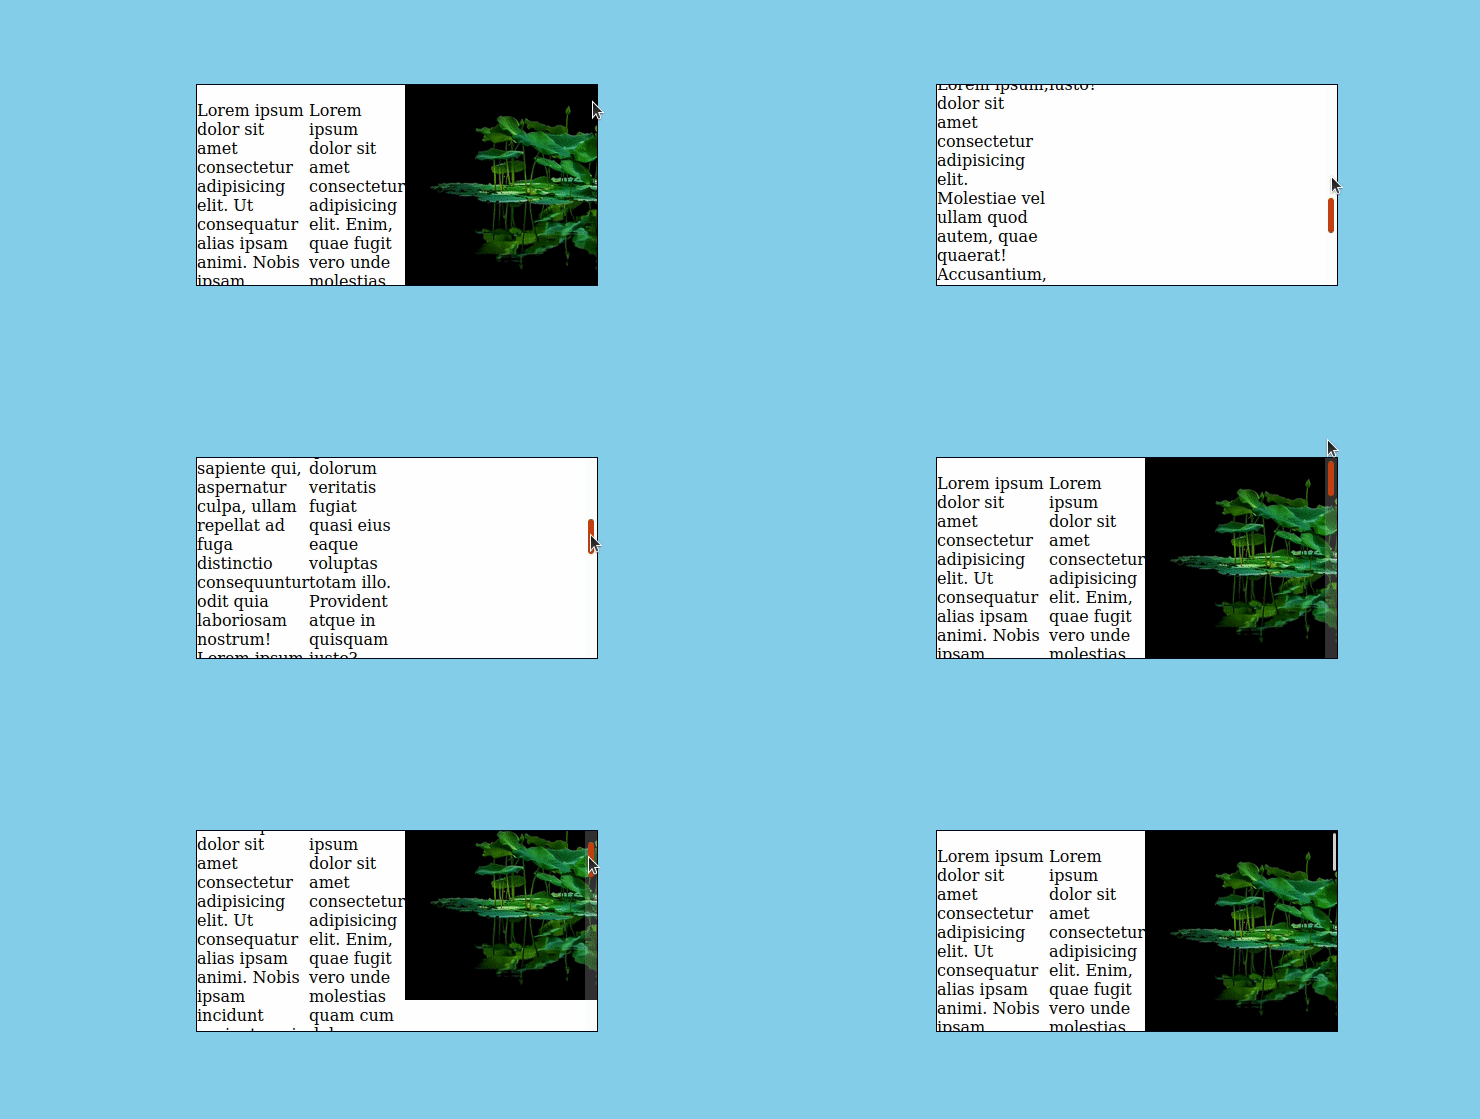
If you make a div scrollable along the Y-axis, you will have a scroll bar that you can drag up and down to view the hidden content. See the gif below.
Method 1: Make a Div Scrollable Using CSS Overflow Property
The easiest way to make a div scrollable is to use CSS. You can achieve this by setting the overflow property.
The CSS overflow property specifies whether content inside an element should be displayed when it overflows its boundaries.
The CSS overflow property has four possible values:
- visible: The default value. Content is not clipped and may be rendered outside the element’s box.
- hidden: Content that overflows the element’s box is clipped and not viewable (hidden).
- scroll: Adds a vertical and/or horizontal scrollbar to the element so that the content can be scrolled within the box.
- auto: Similar to scroll, but only adds a scrollbar when necessary. It can add a scroll bar either along the X-axis, Y-axis or both.
Below is an example of making a div scrollable along the X-axis.
|
1 2 3 4 |
.scrollable { overflow-x: scroll; height: 200px; } |
Below is an example of making a div scrollable along the Y-axis.
|
1 2 3 4 |
.scrollable { overflow-y: scroll; height: 200px; } |
However, we highly recommend setting the overflow property to auto. That will make the browser determine where to put a scrolling bar depending on the size of the screen or the height/ width of the div container. See the example below.
|
1 2 3 4 |
scrollable { overflow: auto; height: 200px; } |
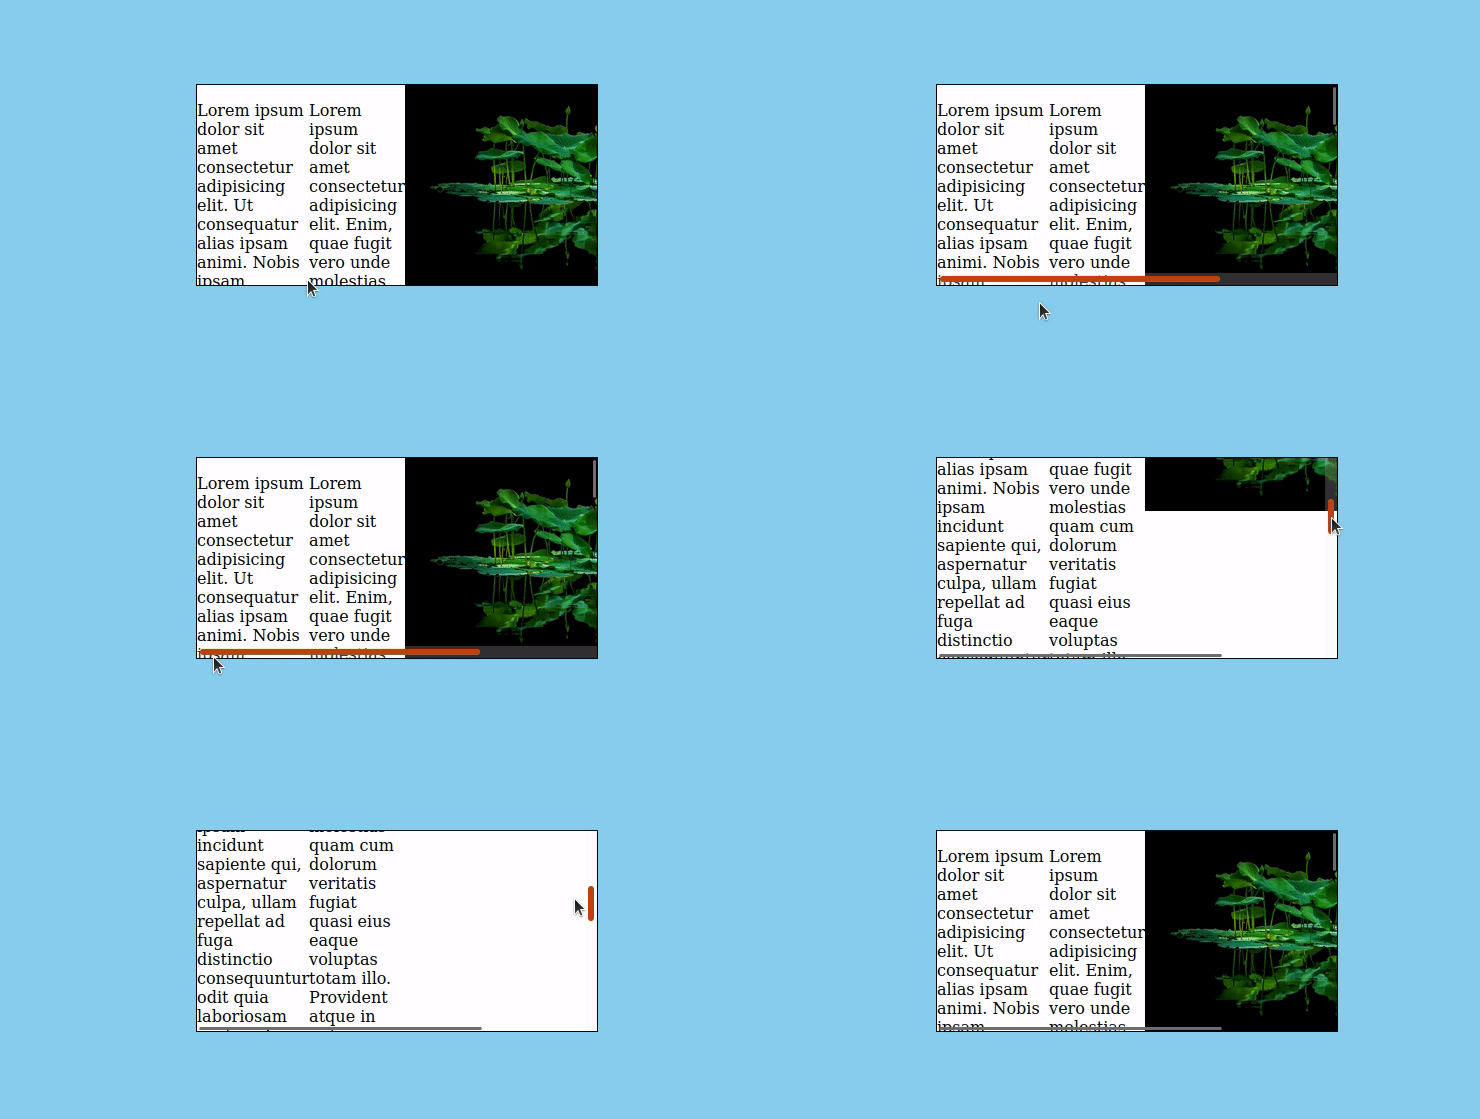
By setting the overflow property to auto, you can see we have a scroll bar on both the X and Y axis of our div. See the gif below.
In this example, the scrollable class has been applied to the div, and its height has been set to 200 pixels.
The overflow property has been set to auto, adding a scrollbar to the div when the content exceeds its height or width.
Tip: If you want the scrollbar to always be visible, you can set the overflow property to scroll instead of auto.
Method 2: Make a Div Scrollable Using Inline CSS.
If you don’t want a separate file for your CSS styles, you can use inline CSS to make a scrollable div tag. Look at the HTML code below.
|
1 2 3 4 5 6 7 8 9 10 11 12 13 14 15 16 |
<body> <div class="scrollable-div"style="overflow: auto; height:200px; width:400px;"> <p> Lorem ipsum dolor sit amet consectetur adipisicing elit. Ut consequatur alias ipsam animi. Nobis ipsam incidunt sapiente qui, aspernatur culpa, ullam repellat ad fuga distinctio consequuntur odit quia laboriosam nostrum! </p> <p> Lorem ipsum dolor sit amet consectetur adipisicing elit. Enim, quae fugit vero unde molestias quam cum dolorum veritatis fugiat quasi eius eaque voluptas totam illo. Provident atque in quisquam iusto? </p> <img src="image_one.jpeg"/> </div> </body> |
The HTML code above creates three HTML elements on our page – two paragraph tags and an image. By default, these elements would be stacked on top of each other, starting with the paragraph tags and then the image.
However, since we want to see the scroll bars, we will set the display property to flex using the .scrollable-div class. See the CSS code below.
|
1 2 3 4 5 |
.scrollable-div{ display: flex; background-color: white; border: 1px solid black; } |
When you open this code on your browser, you will see an output similar to the image below.

Method 3: Make a Div Scrollable Using the Bootstrap Framework
If you are developing your project using a CSS framework like bootstrap, you don’t need to write a lot of CSS as that is already done for you. You can make a div scrollable using the overflow-auto class.
Here’s an example:
|
1 2 3 4 5 6 7 8 9 10 11 12 |
<div class="container"> <div class="row"> <div class="col"> <div class="overflow-auto" style="height: 200px; width:400px;"> <p>Lorem ipsum dolor sit amet, consectetur adipiscing elit. Sed in elit eget elit feugiat ultrices a sit amet lectus.</p> <p>Lorem ipsum dolor sit amet, consectetur adipiscing elit. Sed in elit eget elit feugiat ultrices a sit amet lectus.</p> <p>Lorem ipsum dolor sit amet, consectetur adipiscing elit. Sed in elit eget elit feugiat ultrices a sit amet lectus.</p> <p>Lorem ipsum dolor sit amet, consectetur adipiscing elit. Sed in elit eget elit feugiat ultrices a sit amet lectus.</p> </div> </div> </div> </div> |
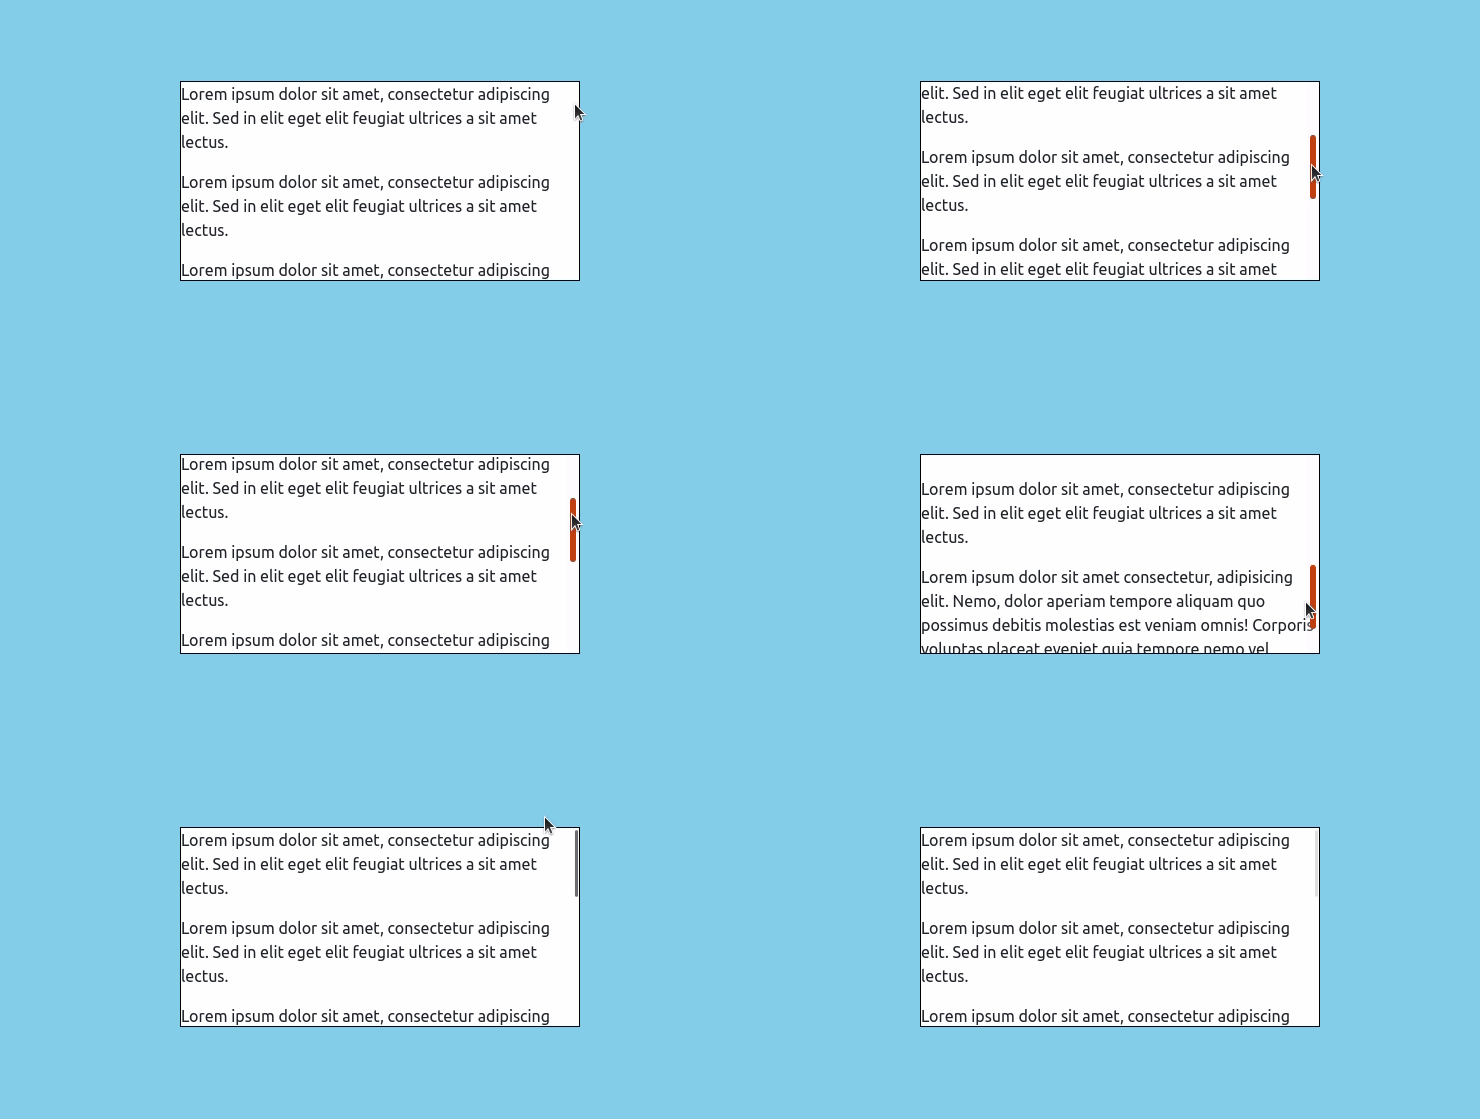
In this example, the .overflow-auto class is used to make the div scrollable, and the style attribute is used to set the height of the div to 200 pixels.
The overflow-auto class has a CSS rule that sets the overflow property to auto, which enables the div to be scrolled when its content exceeds the specified height.
Method 4: Make a Div scrollable Using jQuery.
When you make a div scrollable using CSS, you might want to add some more functionality to it other than having a plain scrolling bar. For example, you might want to automatically scroll to the bottom of the div when the page is loaded.
Here’s an example of how you can achieve that using jQuery.
|
1 2 3 4 5 6 7 8 9 10 11 12 |
<div id="scrollable-div"> <p>1. The quick brown fox jumps over the lazy dog</p> <p>2. The quick brown fox jumps over the lazy dog</p> <p>3. The quick brown fox jumps over the lazy dog</p> <p>4. The quick brown fox jumps over the lazy dog</p> <p>5. The quick brown fox jumps over the lazy dog</p> <p>6. The quick brown fox jumps over the lazy dog</p> <p>7. The quick brown fox jumps over the lazy dog</p> <p>8. The quick brown fox jumps over the lazy dog</p> <p>9. The quick brown fox jumps over the lazy dog</p> <p>10. The quick brown fox jumps over the lazy dog</p> </div> |
The HTML code above creates several paragraph elements on your web page. These paragraphs are enclosed in a div with the class name “scrollable-div.”
Below is the CSS code that we are using to style the div. We have set the height to 200px, and we have also enabled scrolling along the Y-axis using the overflow-y property.
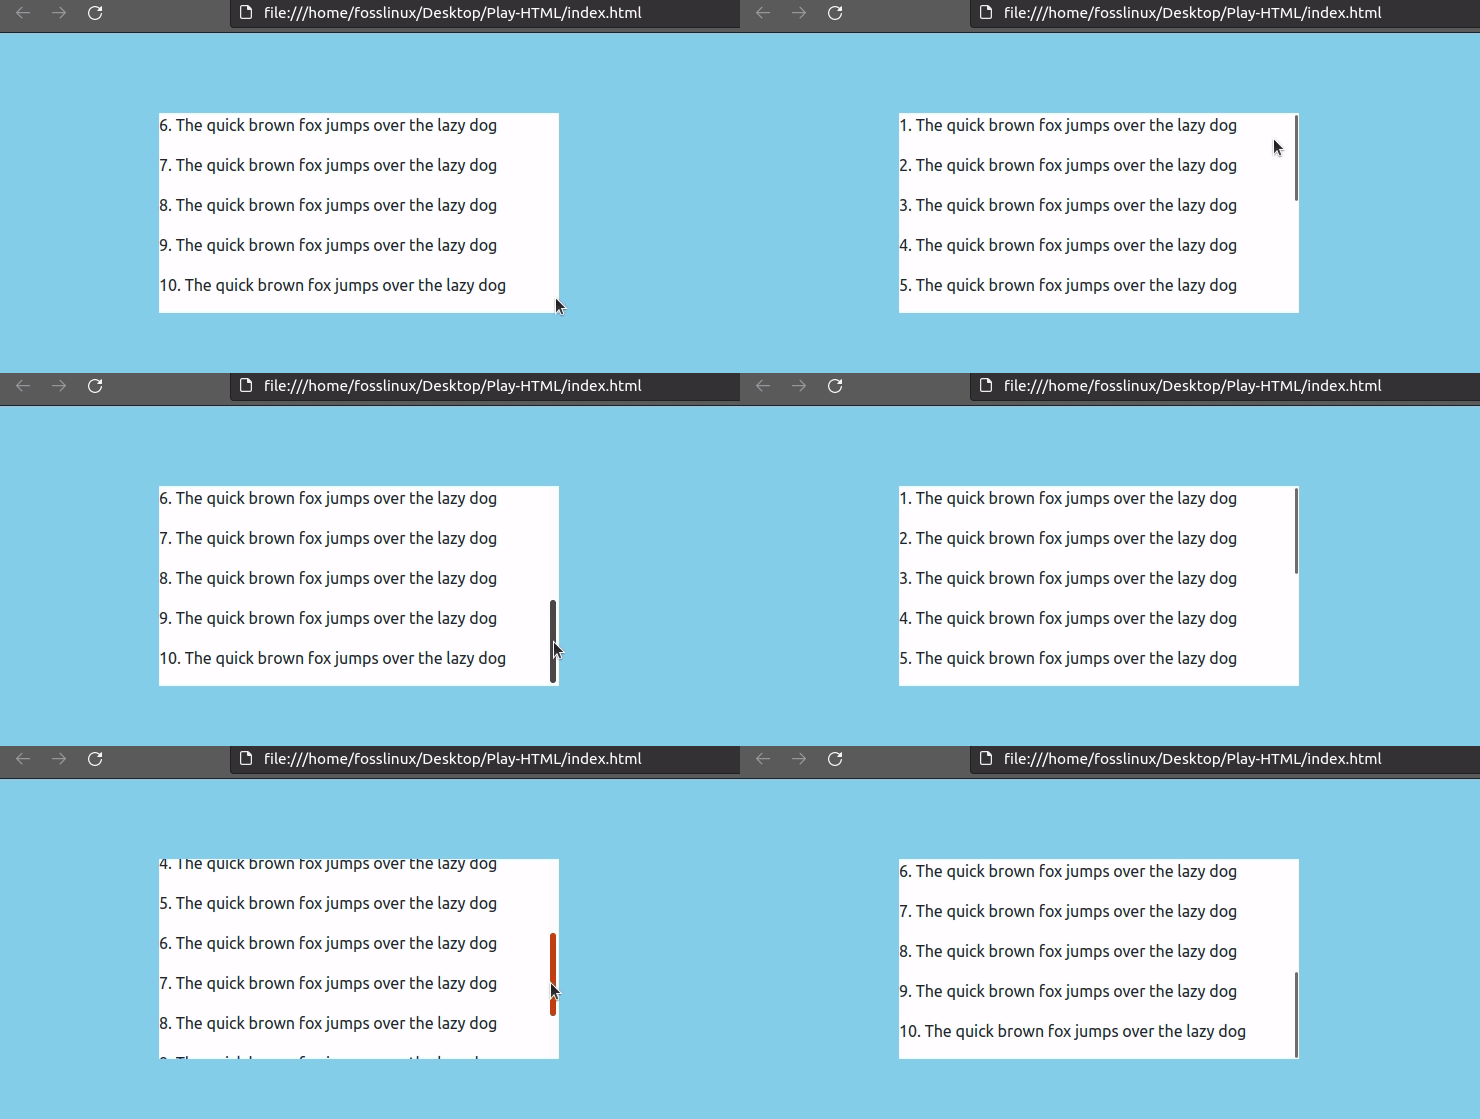
Next, we add the jQuery code shown below. The code inside the “$(document).ready()” function sets the scrollTop property of the scrollable div to its maximum height using the “scrollHeight” property of the div element.
This will scroll the div to its bottom when the page is loaded.
|
1 2 3 |
$(document).ready(function() { $('#scrollable-div').scrollTop($('#scrollable-div')[0].scrollHeight); }); |
When you open this code on your browser, you should see an output similar to Gif below.
How to Make a Div Scrollable with jQuery: Example 2
Below is a code snippet of how you can make a div scrollable with jQuery.
|
1 2 3 4 5 6 7 8 9 10 11 |
<div class="scrollable-div"> <p>Some content here...</p> </div> <script> $(document).ready(function() { $('.scrollable-div').css({ 'overflow': 'auto', 'height': '200px' }); }); </script> |
In this example, we are using jQuery to make the div with class “scrollable-div” scrollable. We are setting the CSS properties “overflow” to “auto” and “height” to “200px” using the “.css()” function.
How do I make a scrollable div in React?
To make a div scrollable in React, create a div element with a fixed height and overflow set to “scroll” or “auto” to make it scrollable. See the code snippet below.
|
1 2 3 |
<div id="scrollableDiv" style="height: 300px; overflow: auto;"> <!-- Your scrollable content here --> </div> |

