
The ability to move images in HTML is an extremely handy thing to know.
The drag-and-drop editors make it easy when they work, but when something fails and you have to manually edit the HTML source code to move images, things can get tricky.
Many of the old methods still work in browsers but they are no longer recommended.
In HTML5, you can switch between HTML and CSS. This is better because it gives you granular control over the position of any HTML element on a page.
How to move images in HTML
Images can be moved by adjusting the margin values within the style properties. The CSS attributes to add are margin-left, margin-right, margin-top, and margin-bottom to move images up, down, left, or right. Float: left or right can be used too. The marquee HTML tag may work but is not recommended.
The basics of image tags in HTML
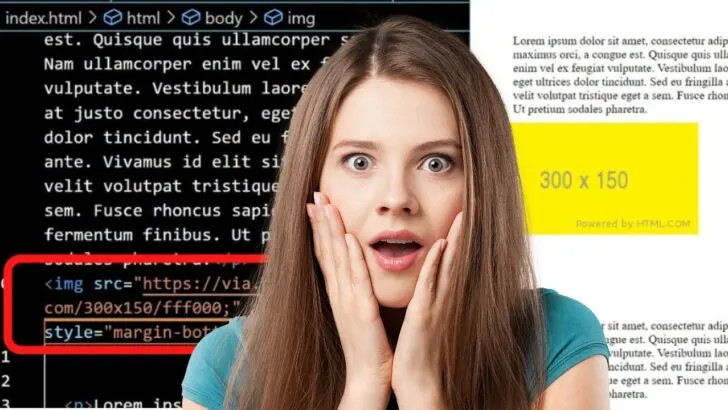
In all instances, your image tags in HTML contain the image source URL and an alt tag to describe the image if it fails to load in a browser.
Everything else is style attributes used for presentation.
In HTML5, CSS is used for styling. You can work with block-level CSS or apply it inline within the style HTML tag.
The style tag is
|
1 |
<style> |
A list of attributes to move images in HTML
- Float left
- Float right
- Margin-top
- Margin-bottom
- Margin-left
- Margin-right
How to apply CSS attributes to HTML elements to move images
When applying styling inline, the style tag is always included after the image source.
|
1 |
<img src="https://via.placeholder.com/300x150/fff000" style="float: right;"><p> |
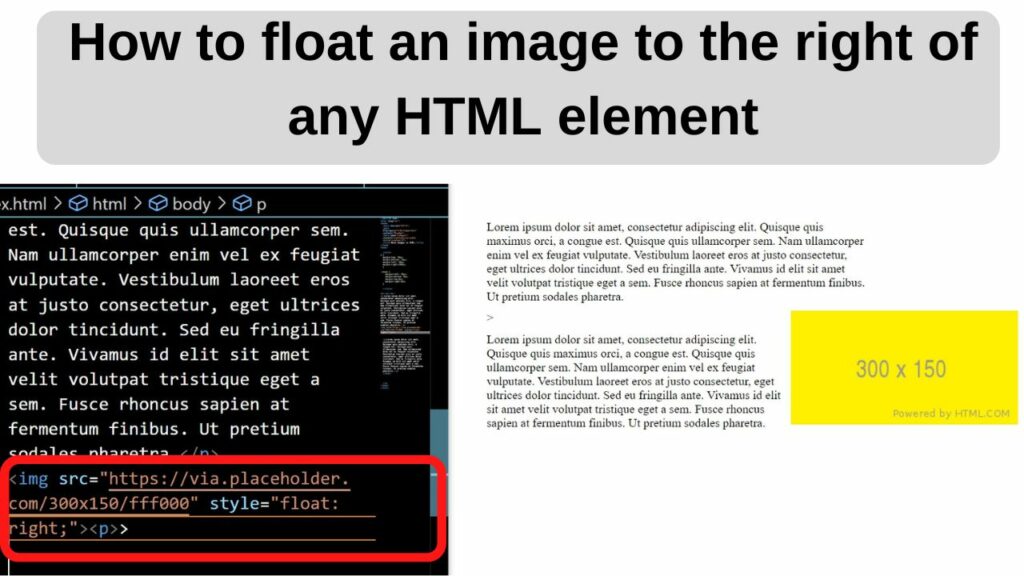
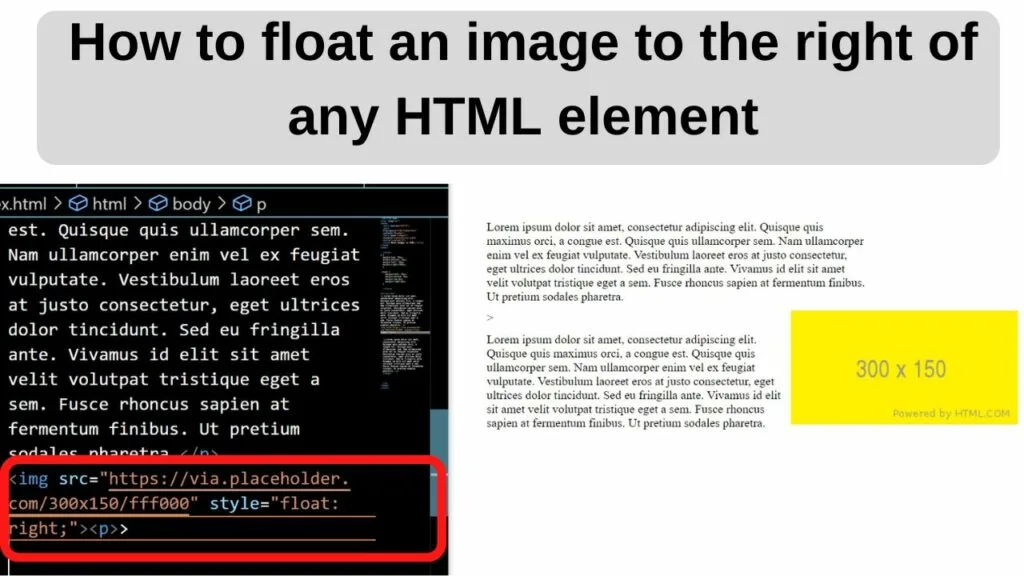
The float property is used to float an image to the left or right of the text. It cannot be centered.
How to center an image in HTML
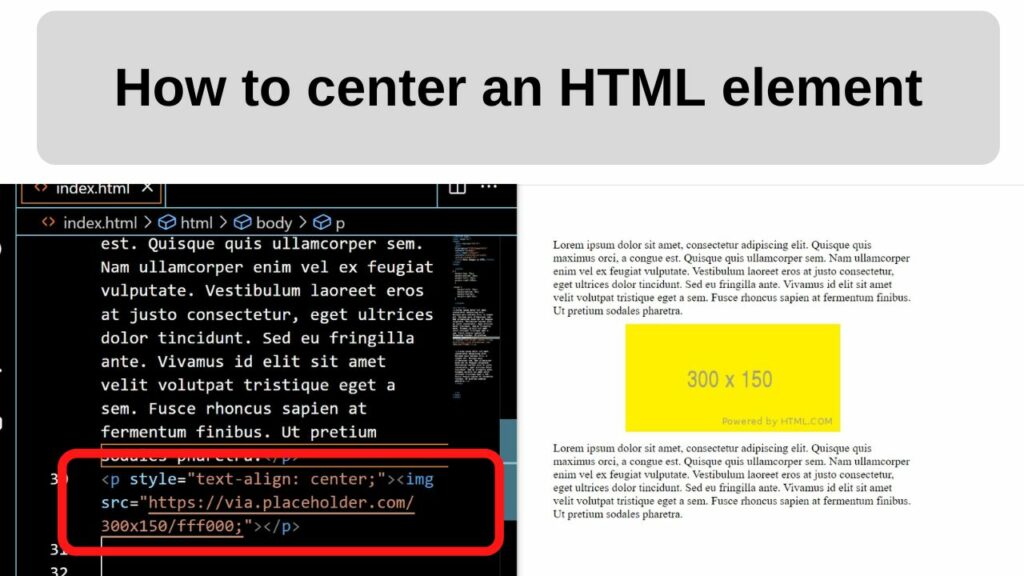
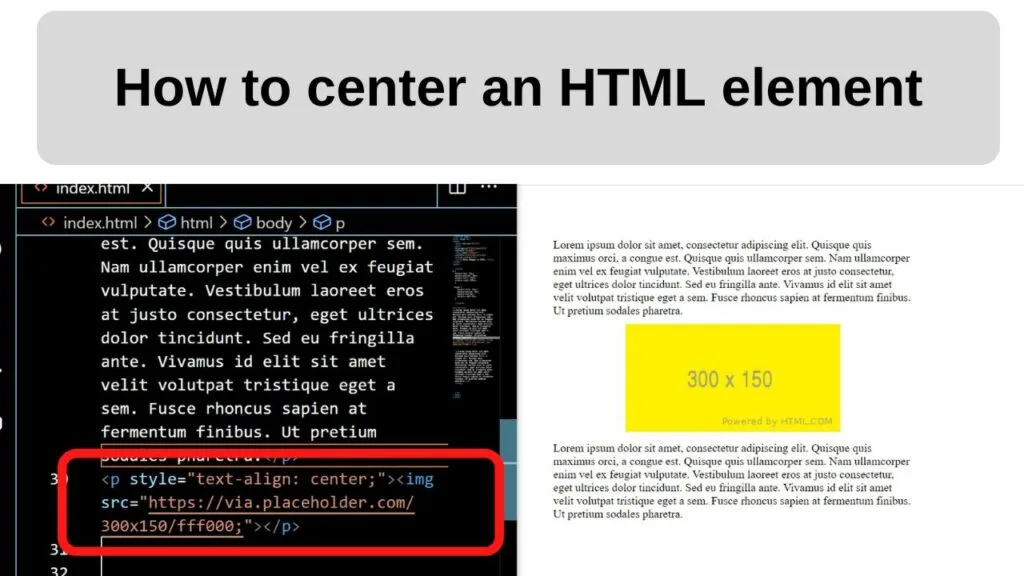
Centering an image is done by placing the image source code within a center style tag.
The old way was to use the center tag, but that has now been deprecated in favor of the text-align: center CSS style attribute.
To use this, add the style tag with the text-align center attribute to the paragraph element and then insert your image HTML tag.
|
1 |
<p style="text-align: center;"><img src="https://via.placeholder.com/300x150/fff000;"></p> |
How to move images down in HTML
To move images down in HTML, set and adjust the margin-top attribute by adding the style attribute after the image source location.
|
1 |
<img src="https://via.placeholder.com/300x150/fff000;" style="margin-top: 100px;"> |
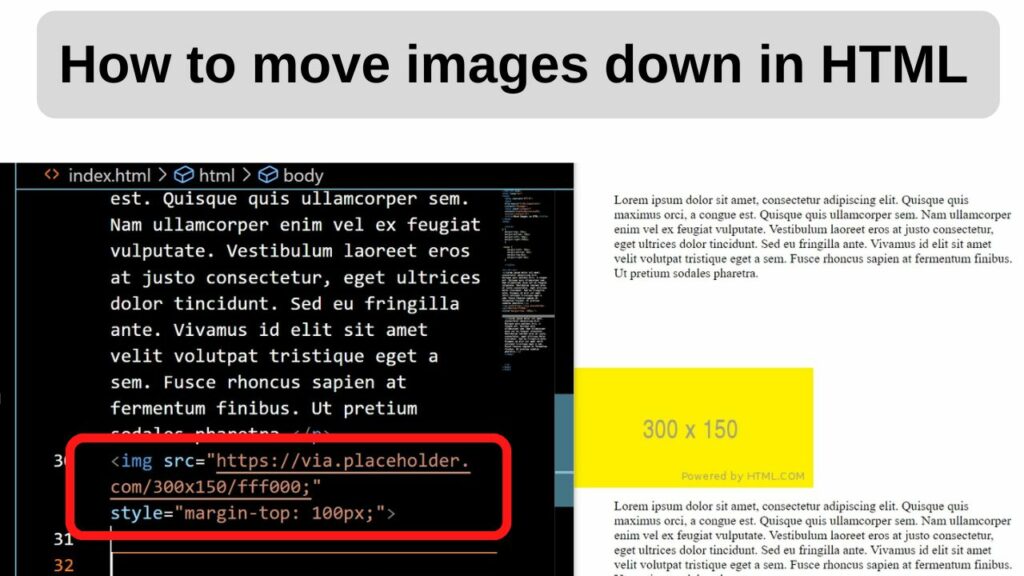

The bigger the number the margin-top is, the further down the image will move.
How to move images left in HTML
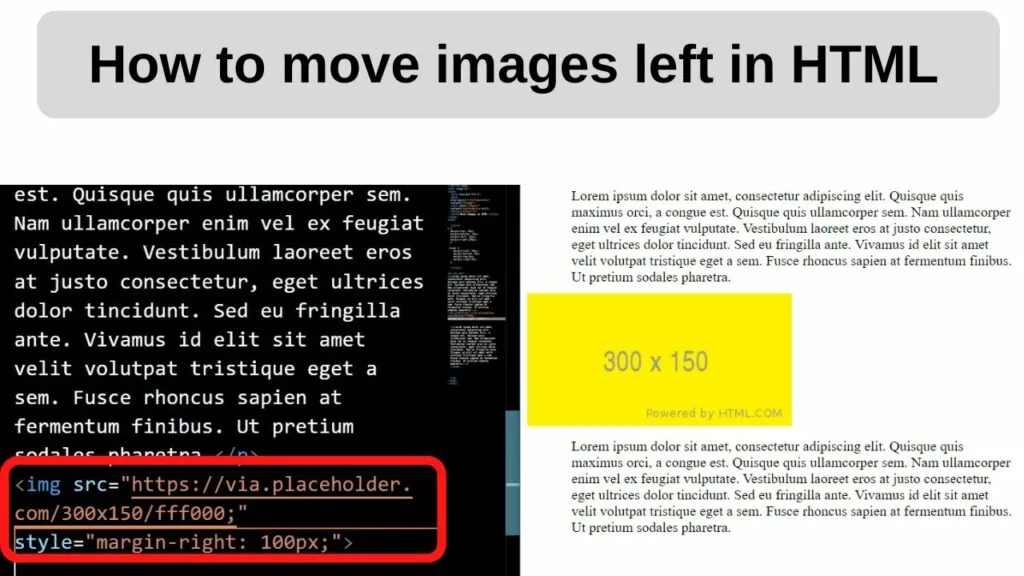
To move images left in HTML, use the margin-right attribute. Remember that the margin is the white space. By applying a higher margin to the right, it pushes the HTML element left.
|
1 |
<img src="https://via.placeholder.com/300x150/fff000;" style="margin-right: 100px;"> |

How to move images right in HTML
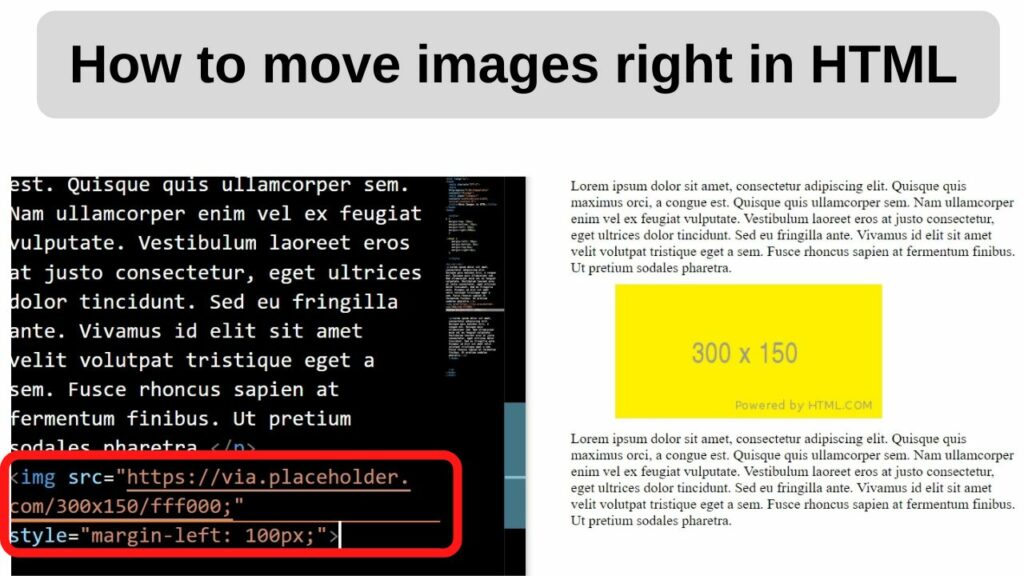
The margin-left attribute applied to an image pushes the image left to right on the screen. Use this to move an image to the right.
|
1 |
<img src="https://via.placeholder.com/300x150/fff000;" style="margin-left: 100px;"> |

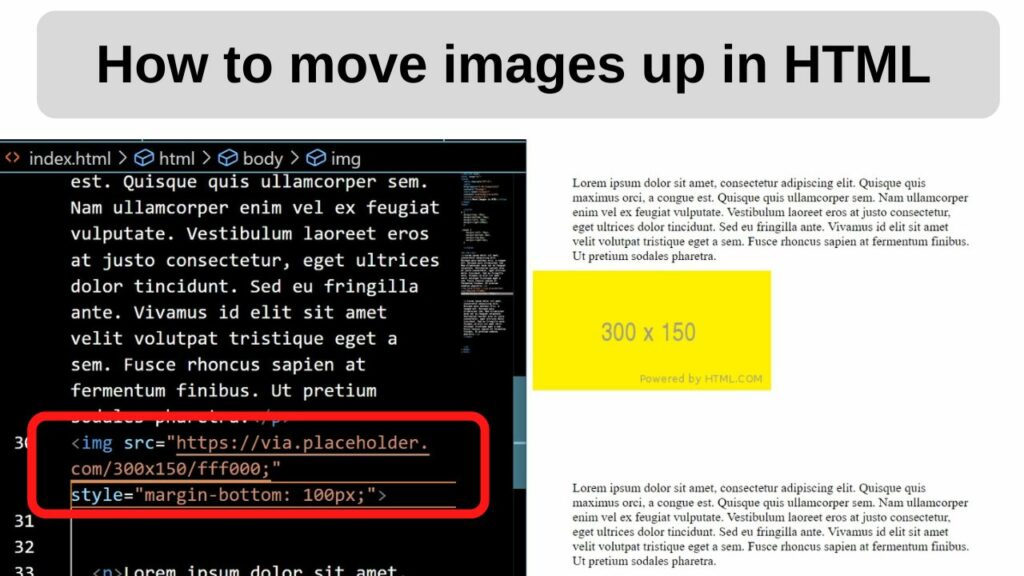
How to move images up in HTML
The margin-bottom attribute is used to control the space below an HTML element.
|
1 |
<img src="https://via.placeholder.com/300x150/fff000;" style="margin-bottom: 100px;"> |

How to move images with the Marquee tag
The HTML marquee tag is deprecated, but as with all deprecated tags, it is still supported in some browsers.
To apply it, place your image URL between the opening and closing marquee tags.
|
1 2 3 |
<marquee> <img src="https://via.placeholder.com/300x150/fff000"> </marquee> |
Alongside the marquee HTML element, you can apply behavior and direction attributes. These are added in the same line.
Options for behavior attributes are
- Alternate
- Scroll
- Slide
The direction can be set to up, down, left, or right.
|
1 2 3 |
<marquee behaviour="slide" direction="up"> <img src="https://via.placeholder.com/300x150/fff000"> </marquee> |
The modern alternative in HTML5 uses the CSS animation attribute to accomplish the same thing.
How to wrap text around an image in HTML/CSS
Placing an image inside a paragraph without setting parameters will push the text to the bottom of the image.
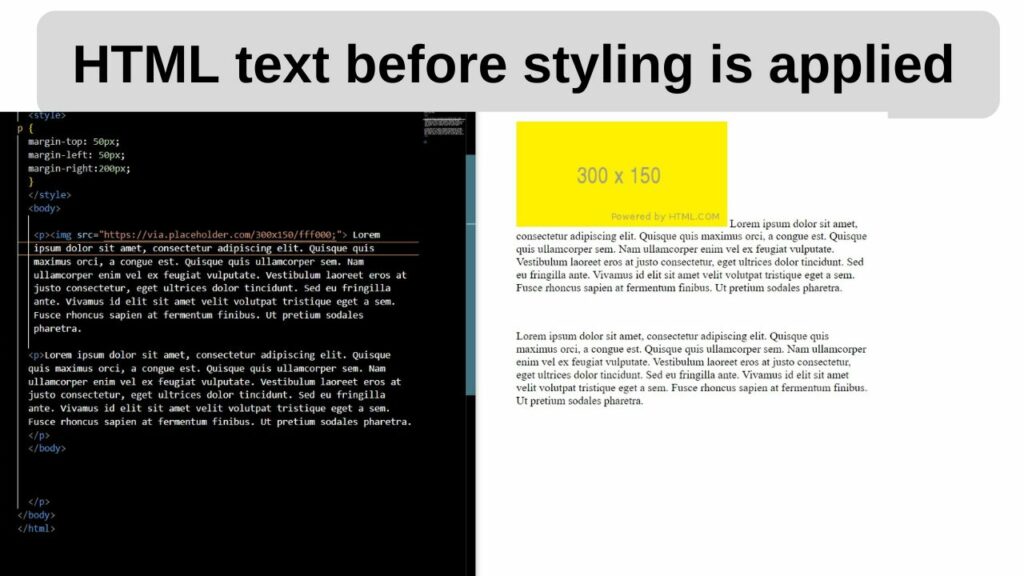

To move the text up so that it wraps around the image, it needs to use an align attribute. This can be left or right.
|
1 |
<img src="https://via.placeholder.com/300x150/fff000" align="left"> |
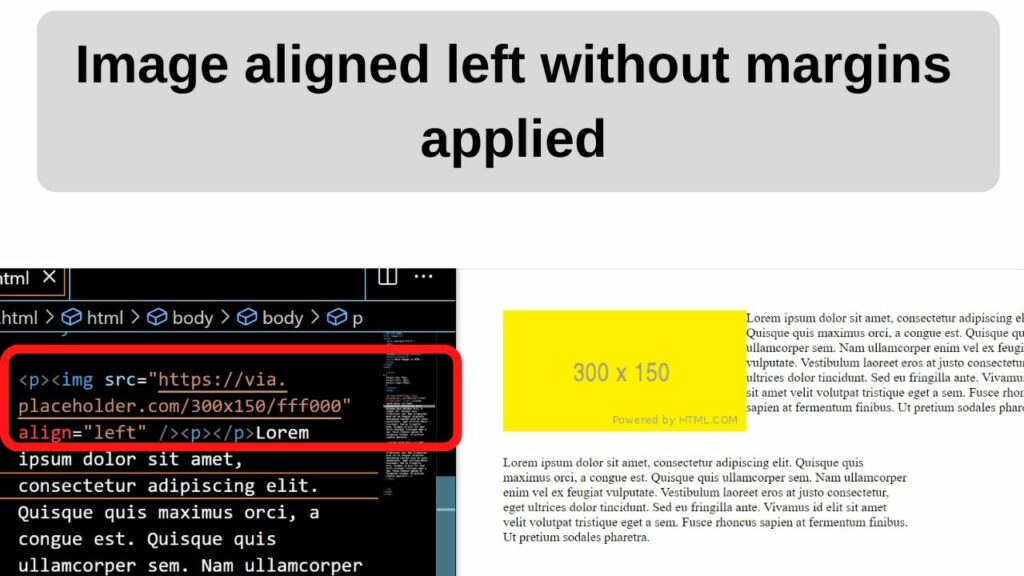

Next is to add some margin properties.
Without setting margins, the text will push up tight against the image. To fix this issue, add the margin properties.
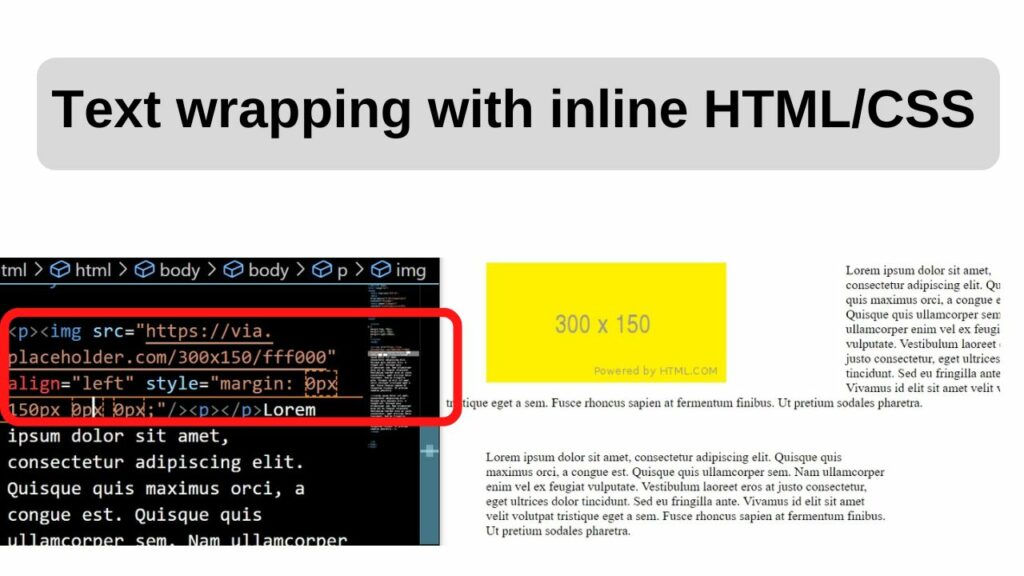
Method 1: Use inline HTML/CSS
You can use this method to set the margins for the top, bottom, left, and right.
With inline styling, the order of margins is top, right, bottom, and last is left.
Therefore, to move the image to the right of the image, you would add the following:
|
1 |
<img src="https://via.placeholder.com/300x150/fff000;" style="margin: 0px 150px 0px 0px;"/> |
With a zero pixel margin set for top, bottom, and left, the image moves to the right by 150 pixels, or whichever value you set here.
Remember the order for margins is margin-top, margin-right, margin-bottom, and margin-left, in that order.

For a slight space between the image and the text block, use a margin of around 10px to 20px.
To switch the image position from a left alignment to a right alignment, use
|
1 |
align=”right”. |
Then add your margins to put space between the image and the text.
What you should have is…
|
1 |
<img src=”url-here” align=”right” style=”margin: 0px 20px 0px px;”> |
The align attribute can be left or right, and the margin values can be changed to move the text position closer or farther away from the image.
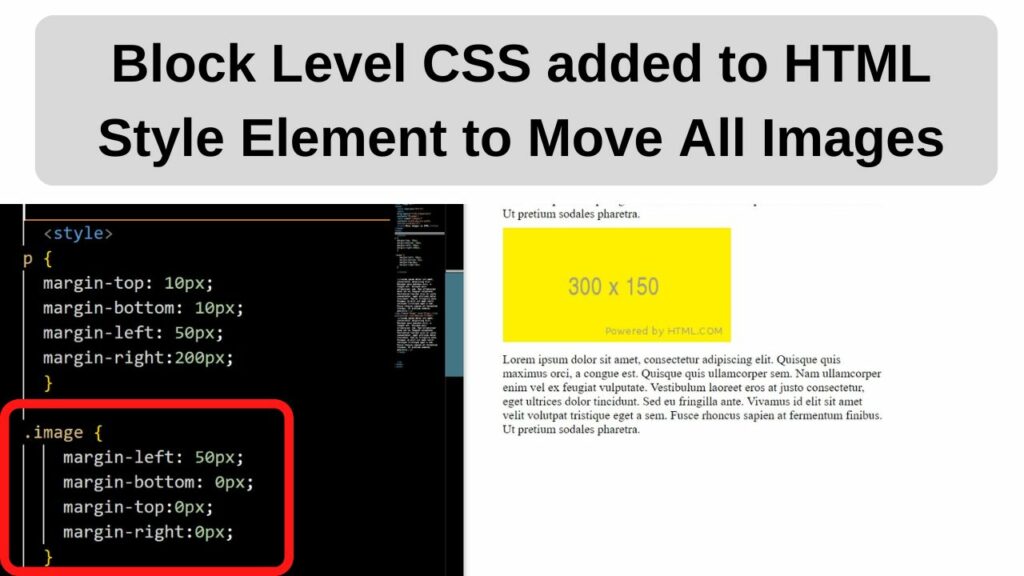
Method 2: Hardcode the CSS within the HTML style tag
HTML documents can easily have class names assigned to apply constant rules for how to present images or any HTML element using CSS.
The style attributes are placed at the top of your document between the opening head tag and the closing body tag.
|
1 2 |
<style> </style> |
To set an image class, the simplest is to place the word image or another class name that is easy to remember for your style element.
|
1 |
.Image { |
To register a new class name, insert a period (.) followed by the name and the curly bracket. Drop to the next line and start applying your CSS attributes to the HTML element.
Whichever name you use will be the class name assigned to all images that you use the class name with.
You can also set more than one class for your images making it easy to center an image, wrap it around a block of text, or left-align it just by calling that particular class.
If you only wanted to have all of your images align with the page margins of your paragraphs, whichever margin properties are set for your paragraph (p) tag, match it to your image class.
As an example, if you had a 50px left margin for your page content, do the same with your image class and it will line up with every paragraph.
|
1 2 3 |
.image { margin-left: 50px; } |
Remember that you can set the margin-top, margin-bottom, margin-left, and margin-right.

To call up the style that has been set for an image CSS class, insert the class name before the source of the image URL or file address.
|
1 |
<img class="image" src="https://via.placeholder.com/300x150/fff000"> |
This will call up the values set between the style tags.
For a single image, applying the style attributes within the image HTML tag is a straightforward way to move images to where you want them.
For repeating the same positioning without constantly applying the style attribute, set it once in the style element then call up the image class to adjust the position.