An image gallery is a collection of images that are displayed in a grid or a slideshow format.
Creating an image gallery with JavaScript allows you to add interactive functionality to your website, such as the ability to browse through a set of images and view them in a larger size.
In this article, we will learn how to create a simple image gallery using HTML and JavaScript.
Create Simple HTML Photo Gallery
To create a simple photo gallery with HTML and Javascript, you will need to use the HTML <img> tag that will display the image on the website. Next, assign this <img> tag an ID or a class name which you will use in your javascript code to change the value of the src attribute of the image. CSS will also come in handy for styling how the images are displayed and for responsiveness.
There are different designs of photo galleries that you can create for your website depending on the purpose that you want to achieve.
This post will give you a comprehensive guide on creating a photo gallery which has a thumbnail section and a light box.
The Gif below shows you the image gallery that you will be creating in this post.

Importance of a Photo Gallery on a Website
Photo galleries can be used to display a wide range of content, including products, events, people, and more. They can be a useful tool for telling a story, highlighting achievements, and engaging visitors with visual content.
Photo galleries can be found on a wide range of websites, including
- personal blogs
- e-commerce sites
- business websites
- online portfolios.
They can be especially useful for websites that deal with visual content, such as photographers, artists, and design firms.
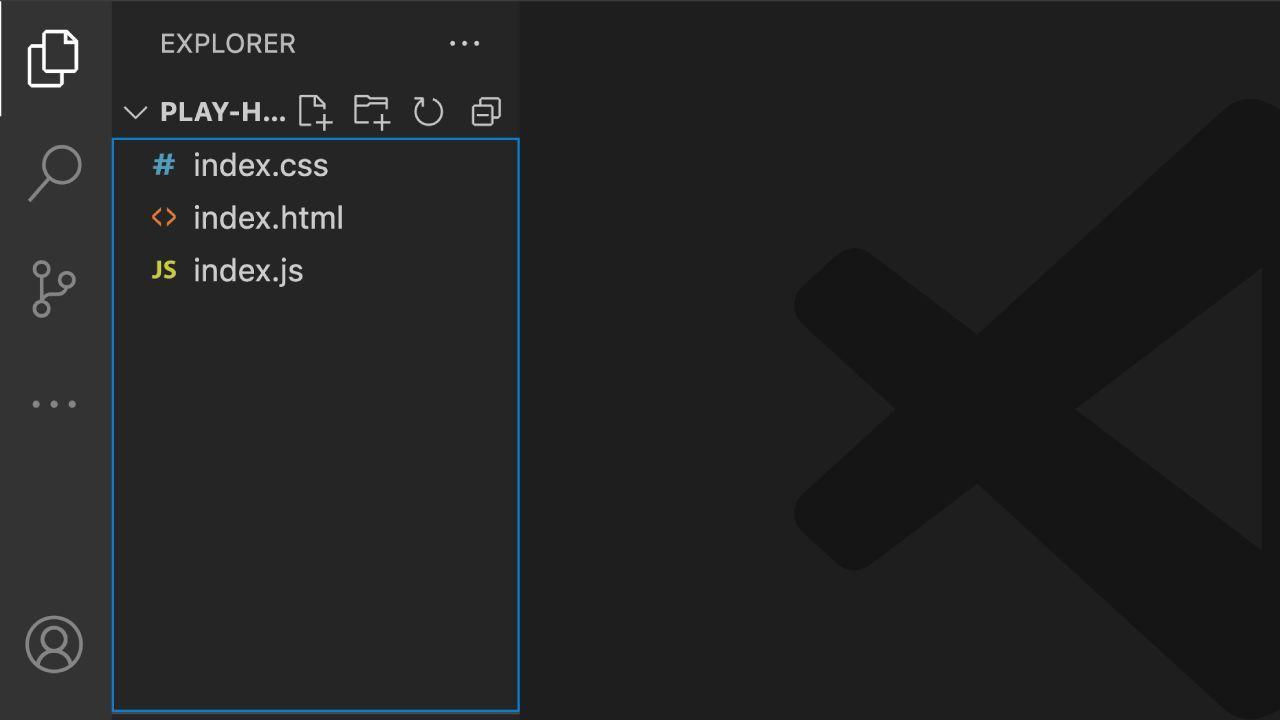
Step 1. Setup Your Text Editor
There are various text editors that you can use for web development. They include VS Code, Sublime Text, Notepad++ etc.
For this post, we will use VS Code. Launch the editor and create three files namely:
- index.html
- index.css
- index.js
See the image below.
Step 2. Write the HTML Code
Inside the <head> tags of your HTML code, you will need to import the CSS file and any other components such as fonts, meta tags, or animation libraries that you might want to use. For this post, we will only import the CSS file and one Google font that we will use for the text.
|
1 2 3 4 5 6 7 8 9 10 11 12 13 14 |
<head> <title>How to Create Simple HTML Photo Gallery with JavaScript</title> <!--Style CSS--> <link rel="stylesheet" href="index.css" /> <!-- Import Google Fonts--> <link href="https://fonts.googleapis.com/css2?family=Josefin+Sans:wght@100;200;300;400;500;600;700&display=swap" rel="stylesheet" /> </head> <body> <!-- The rest of the code will go here --> <!-- Inside the Body Tags --> <script src="index.js"></script> </body> |
Note: You will notice that the Javascript file was imported at the bottom of the HTML code instead of importing it between the HTML <head> tags.
That is to ensure the page is in a usable state before the JavaScript starts running and potentially modifying the layout or behavior of the page.
Inside the body tags, create the first <div> tag and give it a class name of “photos-container.” This <div> will hold the image thumbnails and the image light box.
You will need to create two <div> tags inside the “photos-container” div. Create the first <div> and give it a class name of “photos-container-gallery.”
Create the second <div> and give a class name of “photos-container-lightbox.”
By now, your HTML code should look similar to the code snippet below.
|
1 2 3 4 5 6 |
<body> <div class="photos-container"> <div class="photos-container-gallery"></div> <div class="photos-container-lightbox"></div> </div> </body> |
Inside the “photos-container-gallery” <div> tag, add all the images that you want to display in your gallery. In every image tag, add an onclick attribute and assign it the value of myPhotosFunction(this) as shown below.
|
1 2 3 4 |
<img src="https://maschituts.com/wp-content/uploads/2022/12/How-to-Save-Songs-on-Instagram-728x410.jpg.webp" alt="Image One" onclick="myPhotosFunction(this)" /> |
- onclick=”myPhotosFunction(this)”: The onclick attribute is used to specify that the function myImageFunction() should be executed when the image is clicked. The this keyword refers to the current element, which in this case is the image.
Create an image tag Inside the “photos-container-lightbox” <div> tag and give it an id of “img-lightbox.” Set the src attribute to the first image that you want to show when a user visits the page.
See the code snippet below.
|
1 2 3 4 5 6 7 |
<div class="photos-container-lightbox"> <img src="https://maschituts.com/wp-content/uploads/2022/12/How-to-Save-Songs-on-Instagram-728x410.jpg.webp" alt="Image One" id="img-lightbox" /> </div> |
That’s it! You are done with the HTML Code. You can copy the whole HTML code used in this post below.
|
1 2 3 4 5 6 7 8 9 10 11 12 13 14 15 16 17 18 19 20 21 22 23 24 25 26 27 28 29 30 31 32 33 34 35 36 37 38 39 40 41 42 43 44 45 46 47 48 |
<!DOCTYPE html> <html lang="en"> <head> <title>How to Create Simple HTML Photo Gallery with JavaScript</title> <!--Style CSS--> <link rel="stylesheet" href="index.css" /> <!-- Import Google Fonts--> <link href="https://fonts.googleapis.com/css2?family=Josefin+Sans:wght@100;200;300;400;500;600;700&display=swap" rel="stylesheet" /> </head> <body> <div class="photos-container"> <div class="photos-container-gallery"> <img src="https://maschituts.com/wp-content/uploads/2022/12/How-to-Save-Songs-on-Instagram-728x410.jpg.webp" alt="Image One" onclick="myPhotosFunction(this)" /> <img src="https://maschituts.com/wp-content/uploads/2022/12/How-to-Delete-TikTok-Videos-480x270.jpg.webp" alt="Image Two" onclick="myPhotosFunction(this)" /> <img src="https://maschituts.com/wp-content/uploads/2022/12/How-to-Time-Text-Elements-in-Canva-Videos-480x270.jpg.webp" alt="Image Three" onclick="myPhotosFunction(this)" /> <img src="https://maschituts.com/wp-content/uploads/2022/11/How-to-Put-a-Youtube-Video-into-Canva-480x270.jpg.webp" alt="Image Four" onclick="myPhotosFunction(this)" /> </div> <div class="photos-container-lightbox"> <img src="https://maschituts.com/wp-content/uploads/2022/12/How-to-Save-Songs-on-Instagram-728x410.jpg.webp" alt="Image One" id="img-lightbox" /> </div> </div> <script src="index.js"></script> </body> </html> |
Unfortunately, up to this point our photo gallery is in a bad state. When you open the code on a web browser, all you will see are clattered images similar to the image below.

To fix that issue, we need to add some styling using CSS.
Step 3. Write the CSS Code
Below is the CSS styling for the HTML photo gallery. The comments describe how every piece of code works.
|
1 2 3 4 5 6 7 8 9 10 11 12 13 14 15 16 17 18 19 20 21 22 23 24 25 26 27 28 29 30 31 32 33 34 35 36 37 38 39 40 41 42 43 44 45 46 47 48 49 50 51 |
/* Applying styling to the entire web page */ * { margin: 0; padding: 0; background-color: rgb(221, 221, 221); font-family: "Josefin Sans", sans-serif; } .photos-container { top: 50%; /*This element will be positioned halfway DOWN the page (50%)*/ left: 50%; /*This element will be positioned halfway ACROSS the page (50%)*/ transform: translate( -50%, -50% ); /*Moves the element left and up by 50% of its own width and height.*/ position: absolute; } .photos-container-gallery { float: left; /*The element will float to the left of its parent*/ /*Other elements will wrap around it*/ } .photos-container-gallery img { height: 92px; margin: 10px 0; cursor: pointer; display: block; /*The element will be displayed as a block-level element. This means that it will take up the full width of its parent container, ..and any following elements will appear on a new line below it.*/ opacity: 0.5; } .photos-container-gallery img:hover { opacity: 1; } .photos-container-lightbox { float: right; /*The element will float to the right of its parent*/ padding: 10px; } .photos-container-lightbox img { height: 400px; transition: transform 1s; /*The transition property in CSS allows you to specify the way in which a property changes should be animated.*/ } .photos-container-lightbox img:hover { transform: scale(1.5);/*The transform property in CSS is used to apply a transformation to an element. In this case, the scale function is being used to increase the size of the element.*/ cursor: zoom-in; /*This causes the cursor to be displayed as a magnifying glass with a plus sign.*/ } |
This CSS will fix the styling of your HTML Photo Gallery. When you reload the webpage, you will no longer see the scattered images as in Step 2.
Instead, the images should be neatly arranged as shown below.

You will also notice that when you hover over the thumbnails or the light box (big image), the CSS animations that you set are applied.
Unfortunately, this Photo gallery is still not functional. If you click on the different thumbnails, the image in the lightbox does not change. To fix that, we will need to use Javascript.
Step 4. Write the Javascript Code
In the HTML file, we added an onclick attribute to the images which invoked the myPhotosFunction(). Now we need to write the body of this function inside the index.js file as shown in the code snippet below.
|
1 2 3 4 5 6 7 |
function myPhotosFunction(image_thumbnail) { var fullImageElement = document.getElementById("img-lightbox"); fullImageElement.src = image_thumbnail.src; } |
Let’s have a deeper look at the code above.
This is a JavaScript function that displays a full-size version of a thumbnail image when the thumbnail is clicked.
The myPhotosFunction() function takes one argument, “image_thumbnail,” which is a reference to the thumbnail image element that was clicked. It then performs the following tasks:
- It selects the element with the ID “img-lightbox” using the getElementById method. This element is assumed to be an <img> element that will be used to display the full-size image.
- It sets the src attribute of the full-size image element to the src attribute of the thumbnail image element that was clicked. This has the effect of replacing the full-size image with the thumbnail image.
This Javascript code will add functionality to your HTML photo gallery. Whenever you click on a thumbnail, it will replace the image displayed in the lightbox.
Can I Load Images from a Javascript Array, Instead of Hardcoding them in HTML?
Images can indeed be loaded from a Javascript Array instead of being hardcoded in HTML. To do so, create one <img> tag in your HTML and assign it a unique id. You can then use Javascript to manipulate this element and change the image src property with the elements of a Javascript array – document.getElementById(“image-id”).src = “image.png”;.
You will need to write the Javascript code to iterate through the array and display the images on the page.
Event listeners would also come in handy as they allow users to navigate through the gallery (for example, by clicking on arrow buttons or using the left and right arrow keys on their keyboard).
Frequently Asked Questions about How to Create Simple HTML Photo Gallery with JavaScript
How do I create thumbnails for my photo gallery?
To create thumbnails for a photo gallery, you can use the <img> element with a reduced width and height to display a smaller version of the full-size image. You can also use the CSS width and height properties to control the size of the thumbnail images.
How can I add a caption or description for each image in the gallery?
You can use the <figcaption> element within a <figure> element to wrap the <img> element. The <figcaption> element can contain the text for the caption or description. Alternatively, you can use the title attribute of the <img> element to display a tooltip with a brief description of the image when the user hovers over the thumbnail.
Leave a comment